20
2013Available Light {Free Beginner Photography Class}
First, we learned about natural light in the forms of full sun, open shade, dappled shade, and the golden hour. Then we looked closely at front, side, and back lighting. This week we’re going to tackle using available light with and emphasis on indoor photography. There’s a lot of principles we’re going to borrow from our previous posts, but available light requires a little more analyzing on the spot. Are you ready for the challenge?
Available Light Photography
Technically, any photography that doesn’t use off-camera flash is available light photography. But when I talk about available light for the purpose of this post, I’m talking about indoor and night photography specifically.
When we’re shooting in these situations we’re likely using both a wide aperture and high ISO just to get the shutter speed fast enough to be handheld. We may be whipping out tripods at night so that we can use slow shutter speeds and keep our aperture (and ISO too) stopped down to capture all the beauty.
Things to Remember When Using Available Light
- Rarely will our camera meter get it right. If you’re truly trying to represent the scene as you see it, you’re going to have to aim for 1 or more stops of underexposure. If you rely on a camera meter, the scene will be much brighter than you see: that may be a desired affect, but remember that in manual mode (or program mode) you get to decide the look you desire.
- Locate your light sources. Note how light is falling. Ask your subject to move toward better light (if appropriate) or move yourself to a capture a better angle. Window light is my favorite light for inside imagery, but sometimes we’re working with our overhead bulbs.
- All of the principles of front, side, and back lighting will apply to available light imagery but may be more dramatic.
- White balance is crucial. If you miss white balance, things are going to be very off. However, inside images also have color casts due to painted walls. So if you’re shooting under florescent, but the wall is yellow, you may want to see if incandescent is the better white balance. The same with blue walls: switch to florescent. Working in Kelvin for white balance helps too. Take some test shots before you shoot your subject and play around with white balance. There’s no excuse for you not learning how to white balance for each paint color in your own home. Practice.
- Due to high ISO, available light images are often super grainy. Even if you nail white balance and manage to remove color casts the noise/grain in the image can still distort colors and distract. Therefore, embrace the black and white conversion. We’ll touch on doing black and white conversions when we learn about editing, but in whatever software you use to edit, there’s always a simple way to do it.
Case Studies
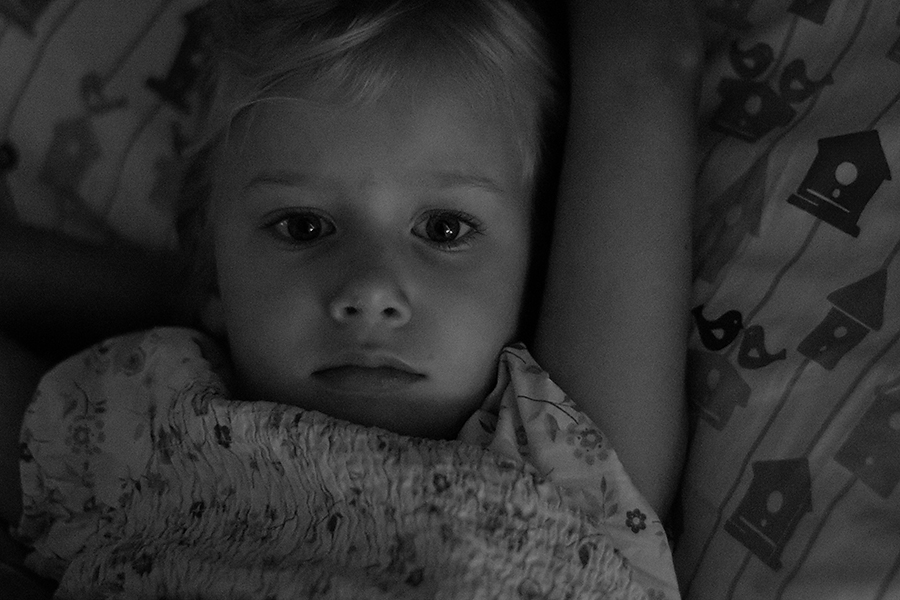
I was thinking about this post when I woke my Aeralind from nap one afternoon. I loved the light! Here head is pointing toward a wall and there is a widow on that wall about 3 feet from where she is lying. It’s casting gorgeous directional side lighting across her face. I kept this image dark and knew when I took this series that they would be black and white; I chose black and white mainly because her dress and pillow clashed in color but also because it would highlight the yummy light better than a color image.
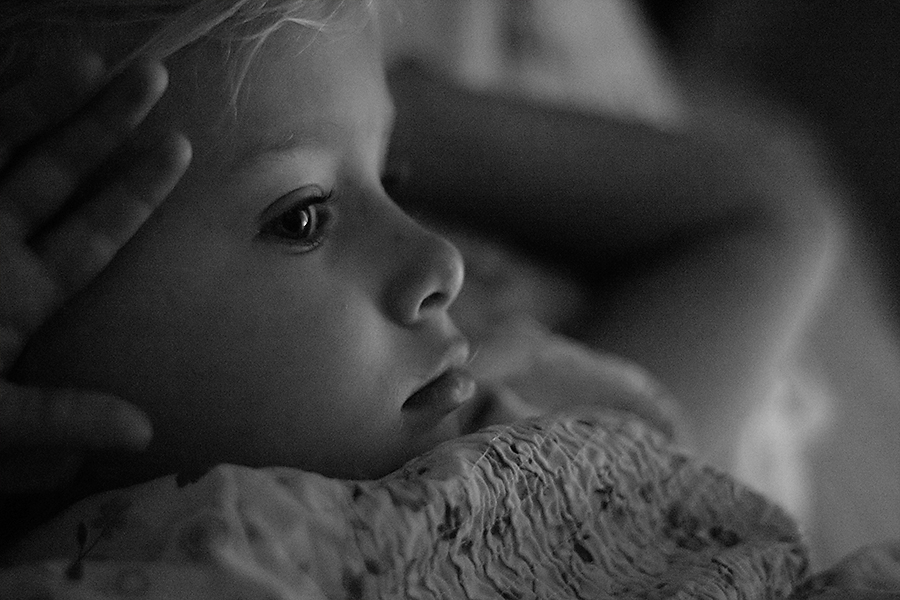
Same light, same day. I moved my position to almost back light her profile. See how much photographer movement can change both light quality/direction?
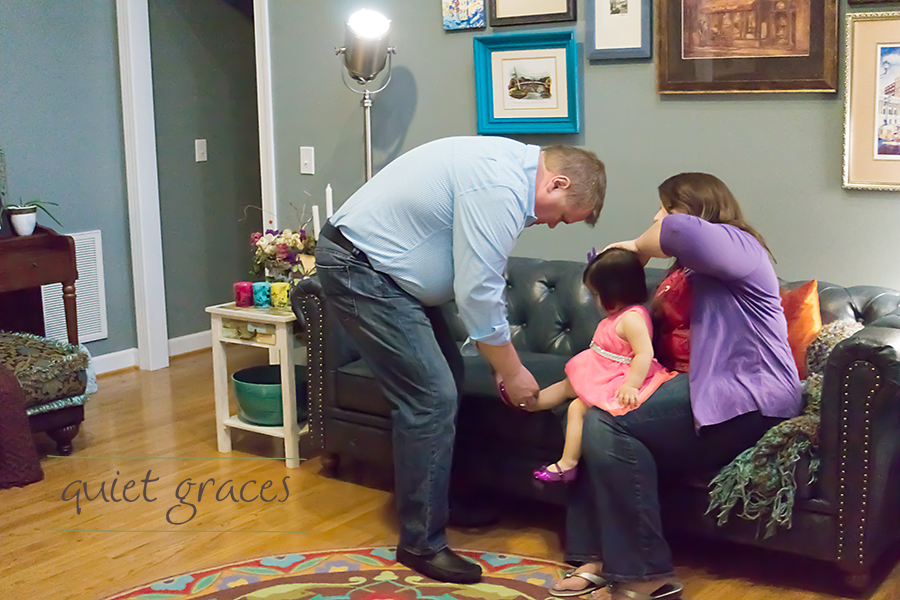
I had a really tough time with this wall color for this family session. Perfecting white balance was hard and even now I’m not wholly satisfied. There were a bunch of lights on in this room but I still had to crank my ISO all the way up to 12,500 to get a shutter speed fast enough to freeze a toddler.
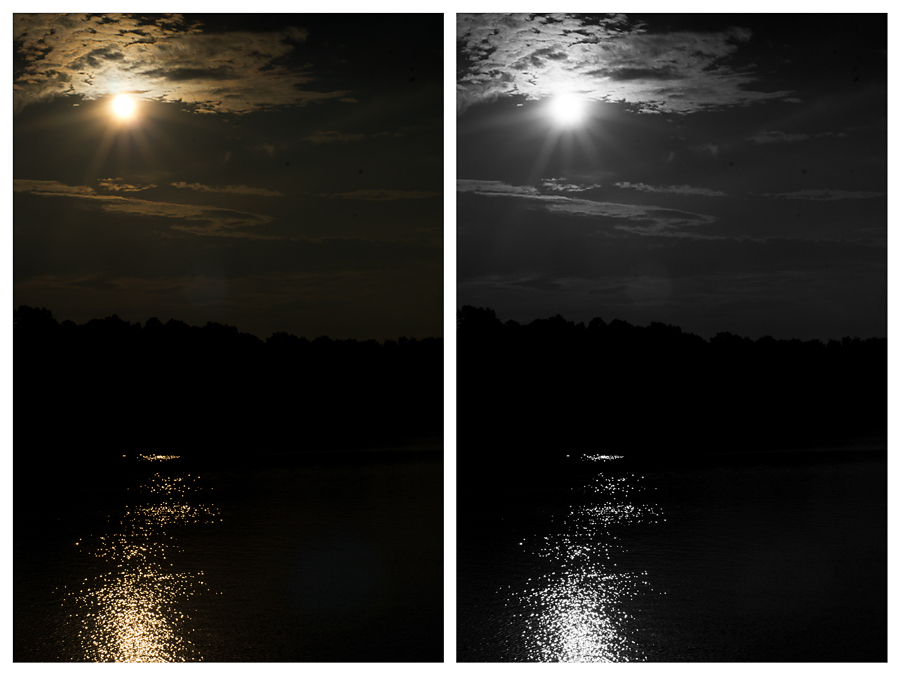
First: I can’t decide if I like this image better in color or B&W so you get to see both. This is not a nighttime image, but it follows the principles that I would use for a night time image. I seriously underexposed this image (at least -2 stops) to keep the sky/water dark. Since this was daylight, I was able to hand hold, but had it been night I would have needed a tripod.
Questions?
For this lesson, I know I dropped a ton a of general principles on you that I’m asking you to apply in available lighting conditions. That means that I may have left something out or been slightly unclear. Please let me know in the comments if you have questions and I’ll try to answer them directly.

Abir
Jen H. – These are INCREDIBLE, Joanna. So precious. What a beafuiutl family and beafuiutl moments you caught for them. Whenever you post pictures it just makes my day. I especially love the one of them gazing at her with dad in the picture and mom rocking her. Just gorgeous!