13
2013Back lighting {Free Beginner Photographer Class}
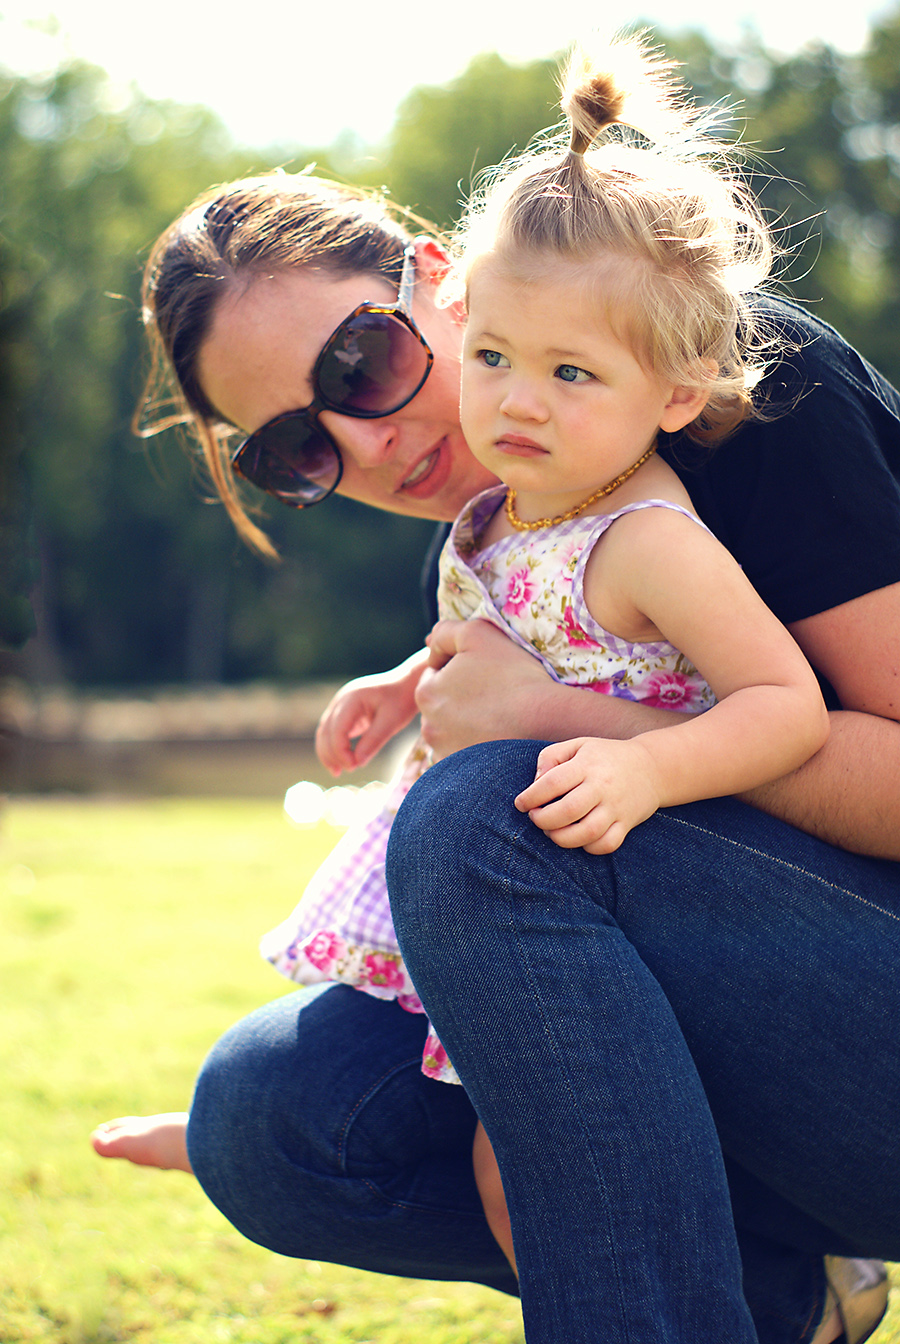
As I mentioned when I was defining all of these terms in my Painting with Light post, back lighting can be just plain tough! Oh, but I love to backlight for families and maternity… so I’m a bit giddy about this post regardless :-p
Lighting a subject from behind requires us to meter for the light in one of three ways in camera: meter for the background, meter for the subject, or meter for the subject and then adjust using the Zone System or by trial and error, so that we keep some detail in the background. I’m going to touch on the advantages and disadvantages of each of these methods briefly in this post.
However, I want you to know that you can modify the light in a back lit photo through the use of light modification: for our class that would mean: on-camera flash or a reflector. Or you can modify the image in post-processing/editing to get a pleasing composition. Both of those options will be covered in upcoming lessons.
Metering Back Lighting for the Background
Using an evaluative or multi-segmented metering mode (most camera’s default) and not adjusting manually using zone system (or trial and error) is going to create a back lit image where your subject is either very dark or silhouetted every single time.
Advantages
Back lit subjects exposed for the background can create dramatic silhouettes. Those whose figures are just shadowed, can give you a sense that you’re peaking in on their world but still retain some detail in the imagery.
It is easy to create back lit images where the background is properly exposed using Auto/A/S/P modes with no to just a bit of an adjustment in Exposure Value.
Disadvantages
You’re going to have a dark subject with very little detail. Depending on what you’re trying to capture: this could be detrimental to your imagery.
Case Studies
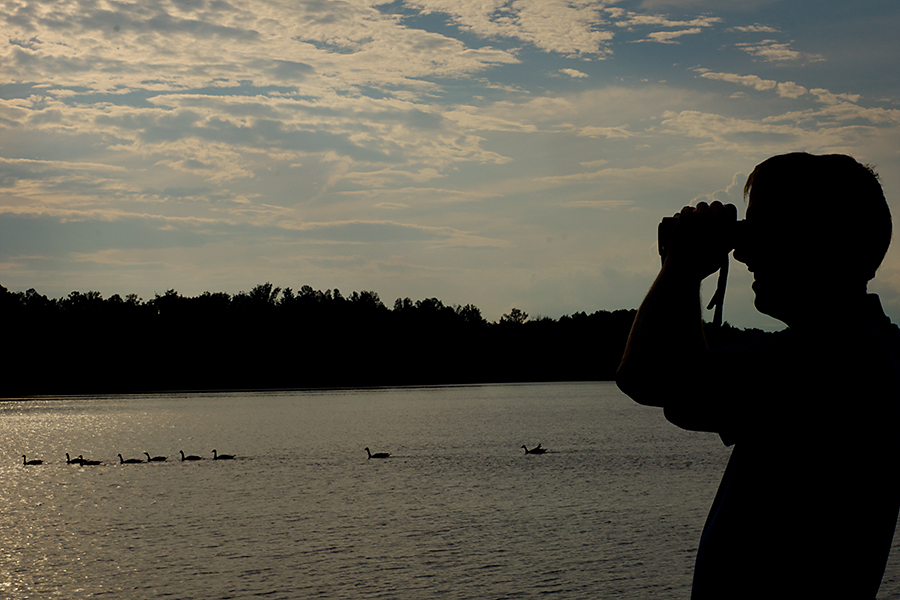
My husband bird watching. I pretty much made him drop everything when I saw this back lighting and the geese in the water. This is so him!
I exposed here for the background (specifically the sky). It’s actually a little distracting with all those cars and buildings… but I love the silhouette high in the sky.
Metering Back Lighting for the Subject
To meter for the subject, we’ll have to switch our metering mode to spot metering. You’re going to have to dive into your manual to figure out how to choose the spot, but you’ll want to spot meter right on your subject whether that is a person (aim for their skin if so) or a palm tree.
Advantages
The advantages of metering your back lit scene for your subject is that your subject will be clearly defined. You’ll be able to see all the detail in that person or tree or scene.
With Spot metering as your metering mode, you may be able to use Auto/A/S/P modes to capture your image.
Disadvantages
The disadvantage of using this method is that if your scene is very bright, you’re likely to blow the highlights of the background. The resulting image will have a well lit subject with a bright almost white background with little detail.
Case Studies
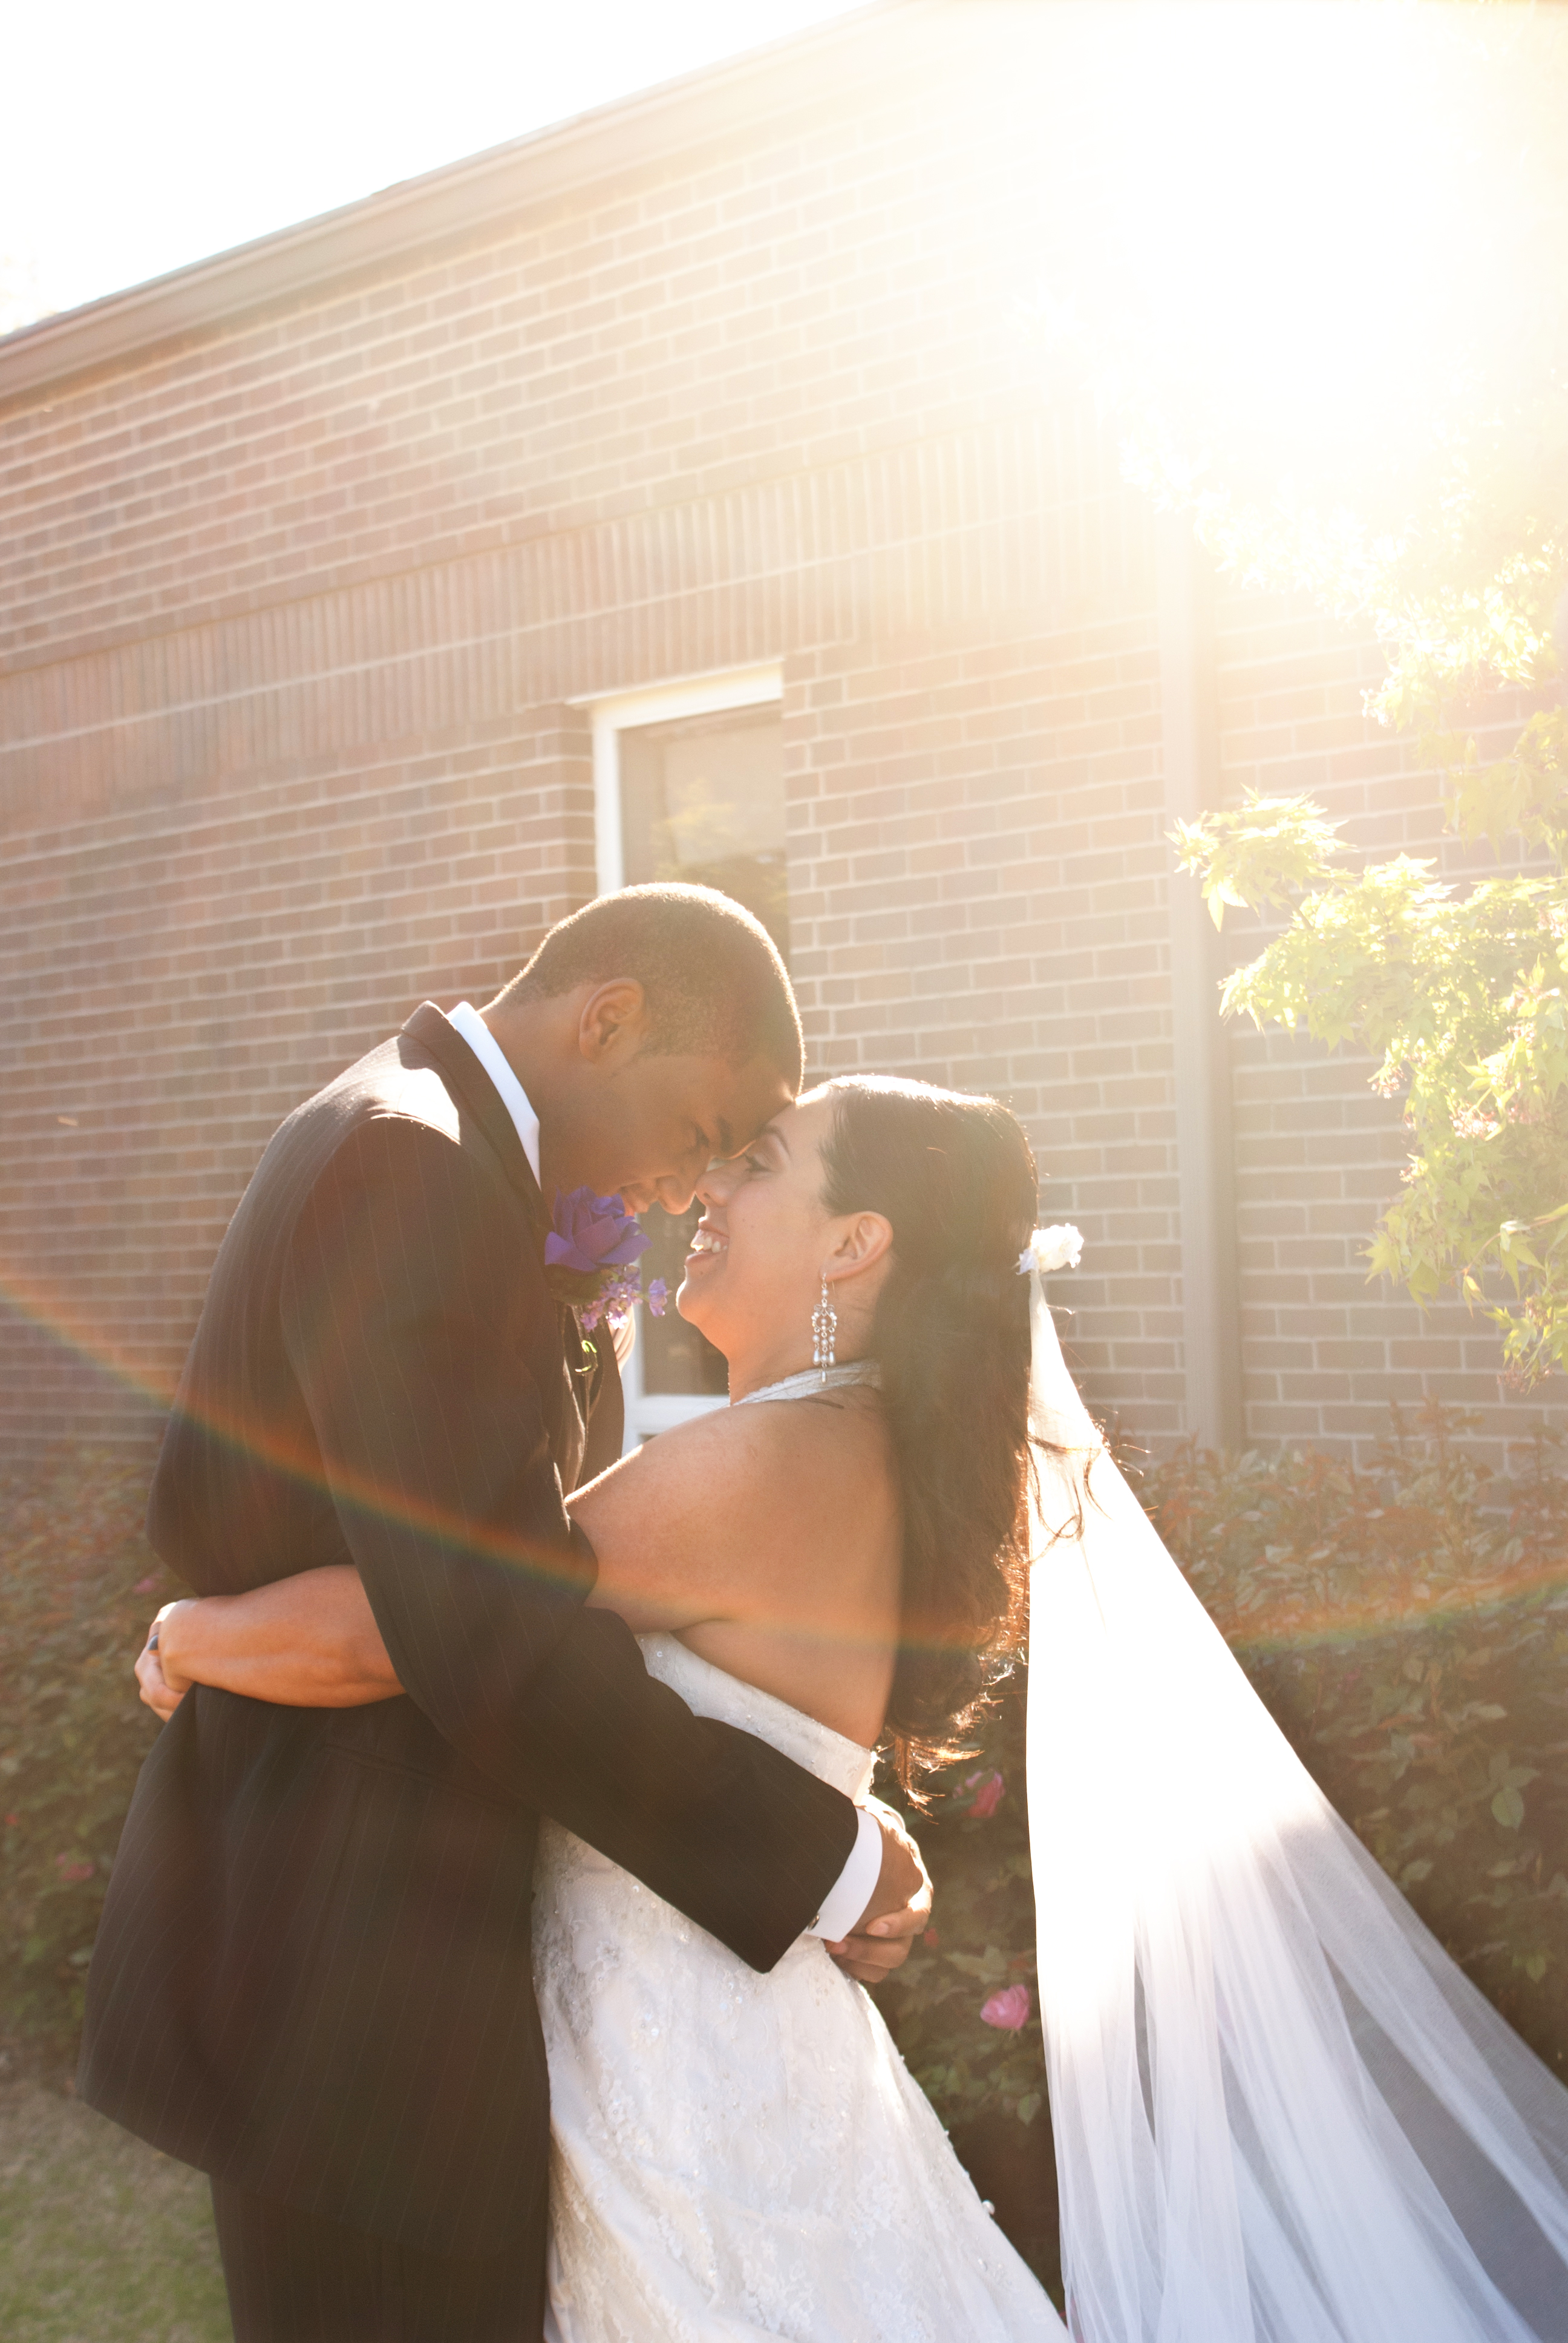
Here I exposed for the subjects. (no… I don’t do weddings. I was a volunteer second shooter here for my sister in law. I never would have posed these guys in front of that brick building… sigh). The sky is blown out, but luckily the sky is not the majority of this image. And that intentional sunflare… ah… to die for. 🙂
Metering for the Subject and Adjusting in Manual Mode
So this is our middle ground for back lit subjects. If you’re trying not to silhouette your subject and yet you’re in a situation where metering for your subject will blow out the background, this is the only way to correct in-camera without light modifiers, editing, or com positing two images together.
To do this: meter for your subject in spot metering. Then use exposure bracketing to bracket up to a full 2 stops below. Have a look-see on the LCD and decide which image has the best exposure for both your subject and your backdrop. (Alternatively, you could use the zone system to calculate how many stops you would need to move below to retain some detail in your highlights.)
Advantages
You’ll have a pretty decent exposure for both the background and your subject.
Disadvantages.
Your subject may still be darker and your background may still be lighter than you would like. You’ll likely want to run this image through editing software in post-processing to fix both of these downfalls.
Case Studies
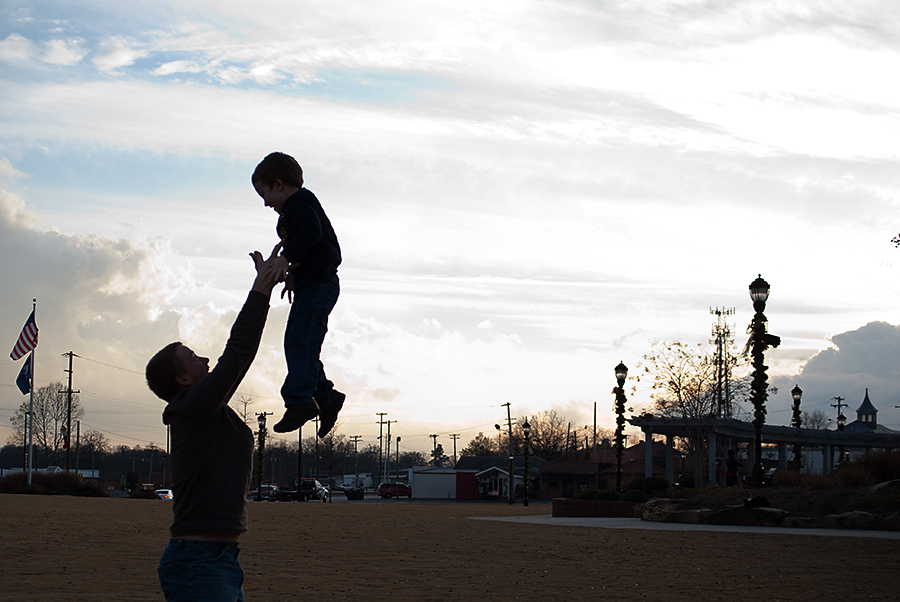
I aimed for the middle in this image. I wanted some detail in the back and some on the subjects. I think I could have done a better job here, but it was a moment inspired solely by the angle/location of the sun 🙂
Side by Side Comparison
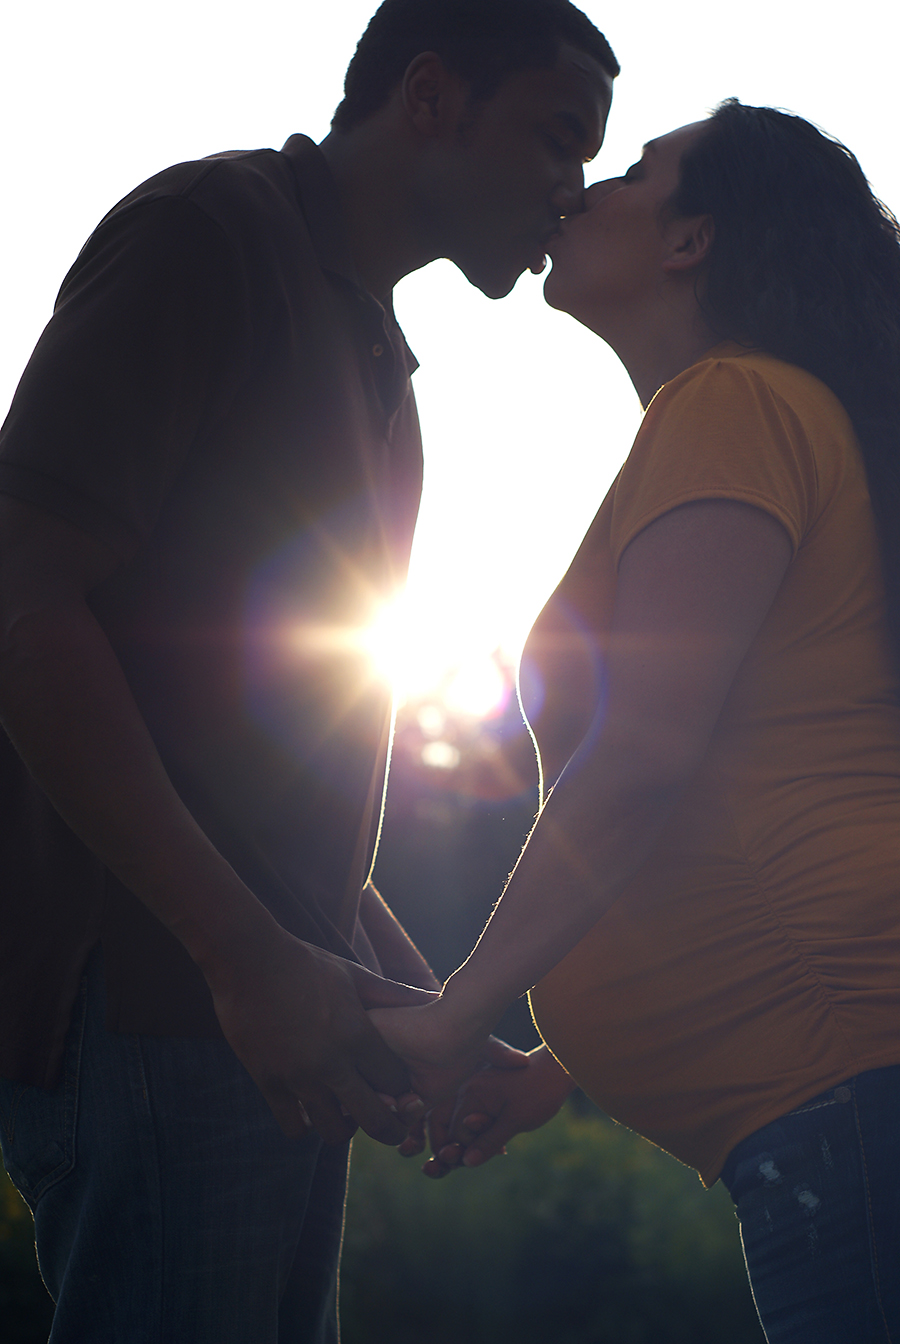
I actually exposed for the background with this image straight out of the camera (I liked the rim lighting around the baby bump.) So this series of images are actually different post processing edits that would show you how each of these scenarios would look as if I had did it in all of the methods described above.
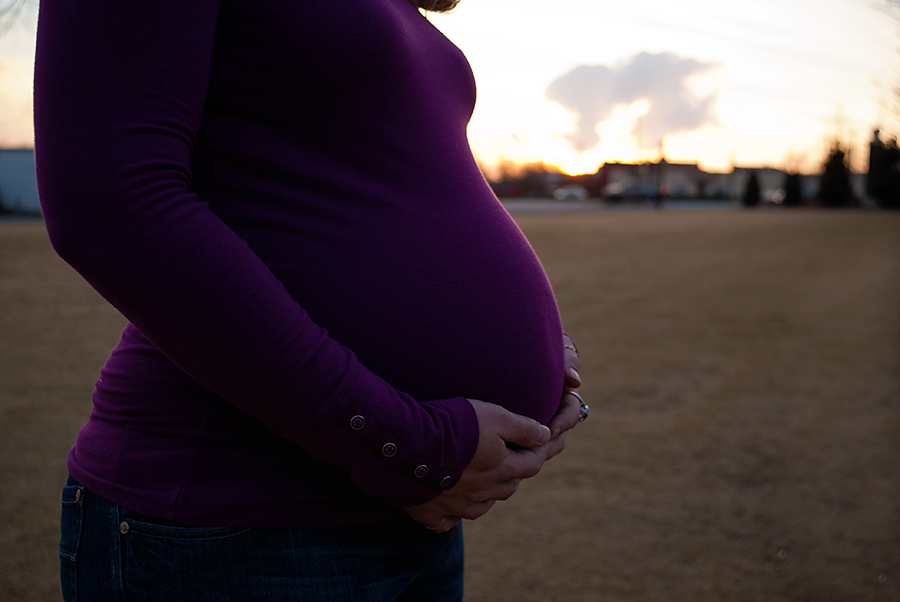
Exposed for the background (or using evaluative/multi-segment metering)
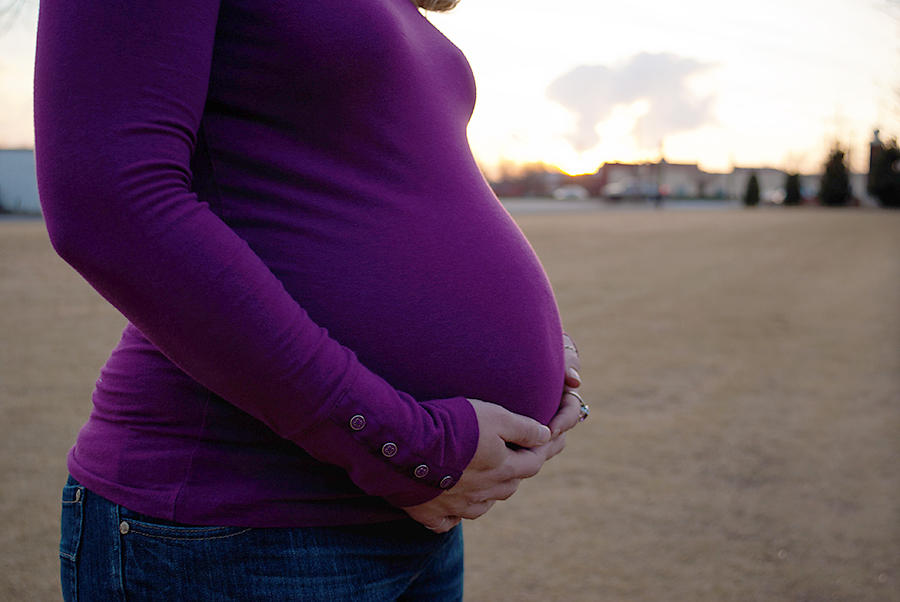
Best of both worlds or spot metering and then adjusting to keep some detail in the background.
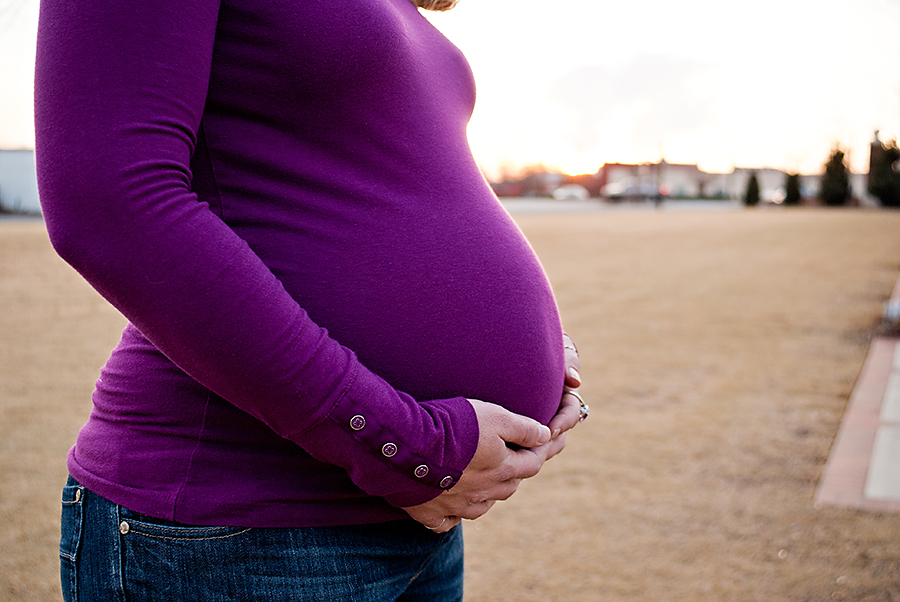
Exposing for the subject using spot metering and blowing out the background detail.
Assignment
Remember at the end of August I’ll be giving you an assignment to take imagery in a bunch of lighting types. You can start on this now or wait until I announce the assignment. September will be a no assignment month, giving everyone a bit of time to catch up.

Modifying Light Part 2: On Camera Flash {Free Beginner Photography Class} @ Greenville SC Maternity Birth Newborn PhotographyGreenville SC Maternity Birth Newborn Photography
[…] our back lit scene? Remember how tough it is to get a good exposure for your subject without blowing out all the […]