Dec
17
2013Editing a Naturally Dark Image {Beginner Photography Class}
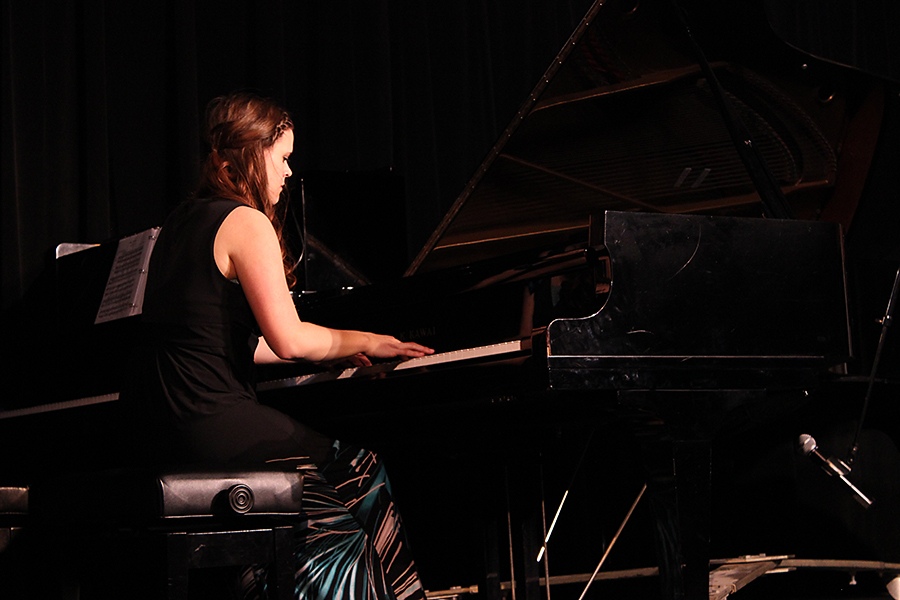
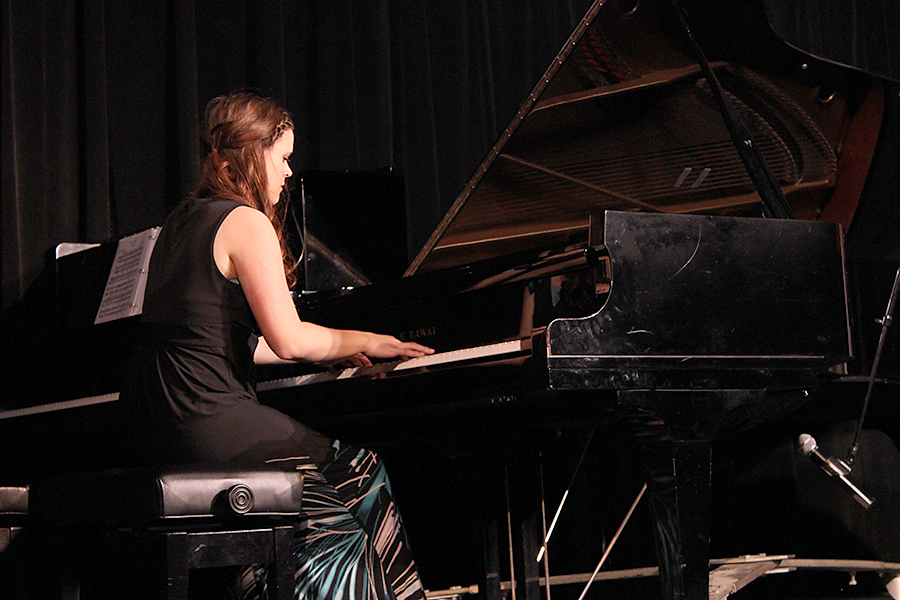
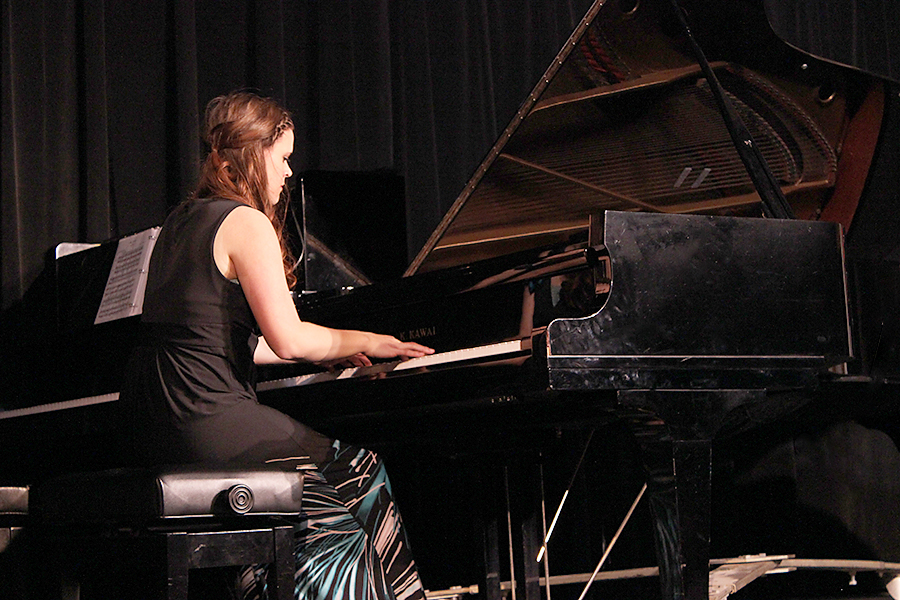
Amber took this image of her sister for our Rule of Thirds assignment. She did an excellent job capturing the scene, but exposing for her sister (as she should have) produced a very dark image because of the setting. I asked Amber if I could borrow her image and tweak it just a bit.
So here is a quick tutorial for how I would edit this image in PSE 9.
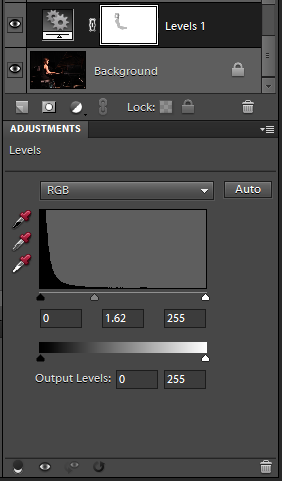
- Opened a Levels layer. I grabbed the midtones slider and pulled it over toward the left. This makes the midtones begin earlier, brightening the whole image. Then, I used a soft black brush at 27% opacity to remove some of the brightness on her skin while I had the levels layer mask selected.
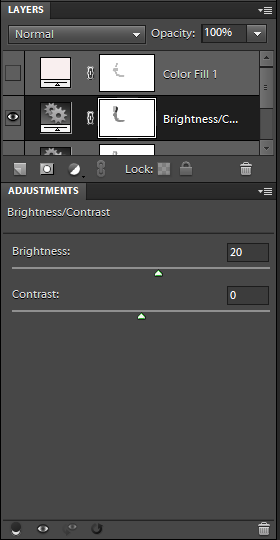
- Opened a Brightness/Contrast layer and adjusted the brightness to taste. I also brushed some of this extra brightness off her skin.
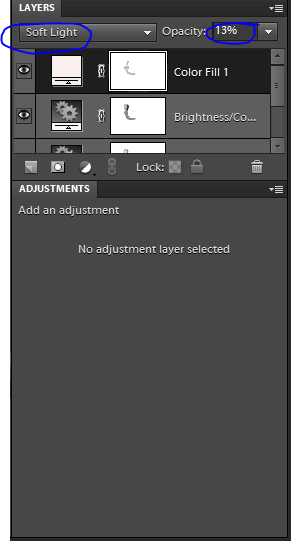
- Opened a Solid Color layer. Selected a pale rose color (#f9efef). Changed Layer Setting from Normal to Soft Light. Reduced Layer Opacity to 13% and brushed some of the color off her skin. This layer would be totally optional. And if you chose to use it you could pick any color you wanted. I just liked the extra touch of rosy/pink 🙂
- Finally I cleaned up the piano a bit and removed the microphone, just because I could with the Spot Healing Brush.
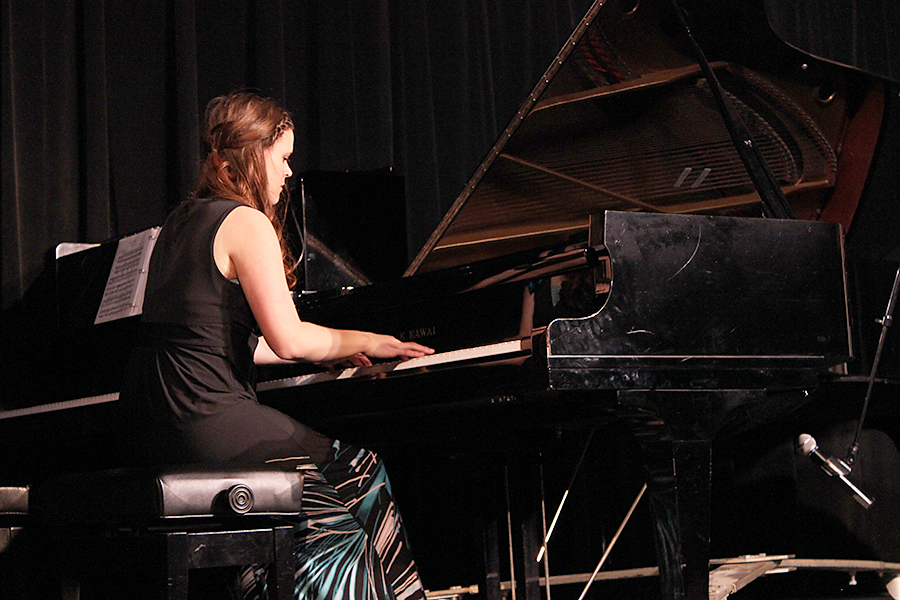
Here’s your side by side before and after.
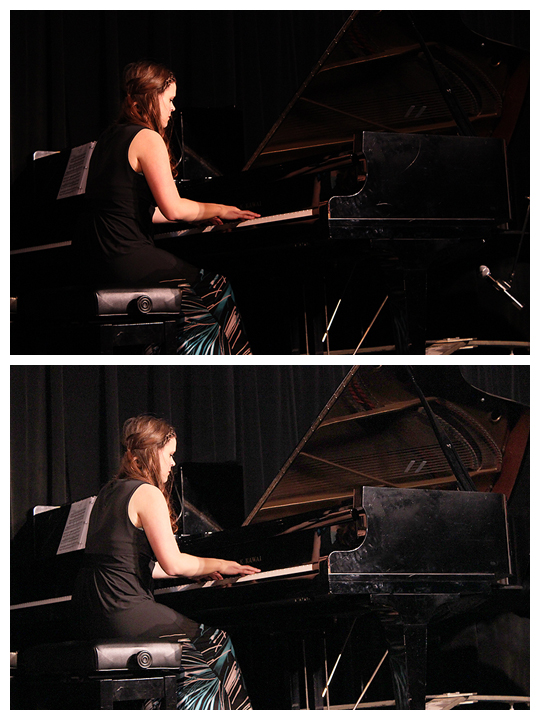
Which do you like better? How would you want to edit this differently?
