05
2013Welcome Back to Class and Nailing Focus {Free Beginner Photography Class}
Welcome back class! I see you’ve made the best of our little break and I am super excited to see your images in the Flickr Group! I’ll be posting some of your images from the Flickr Group tomorrow to showcase how you’ve grown over the summer.
If you haven’t posted anything in the Flickr Group recently, today is your last chance to get your images in so I can include them on tomorrow’s blog.
Today we’re going to talk just a little bit about nailing focus before jumping into editing topics for the remainder of the year. There will be no more assignments outside of your Final Project. So start creating and consider this series of posts bonus materials.
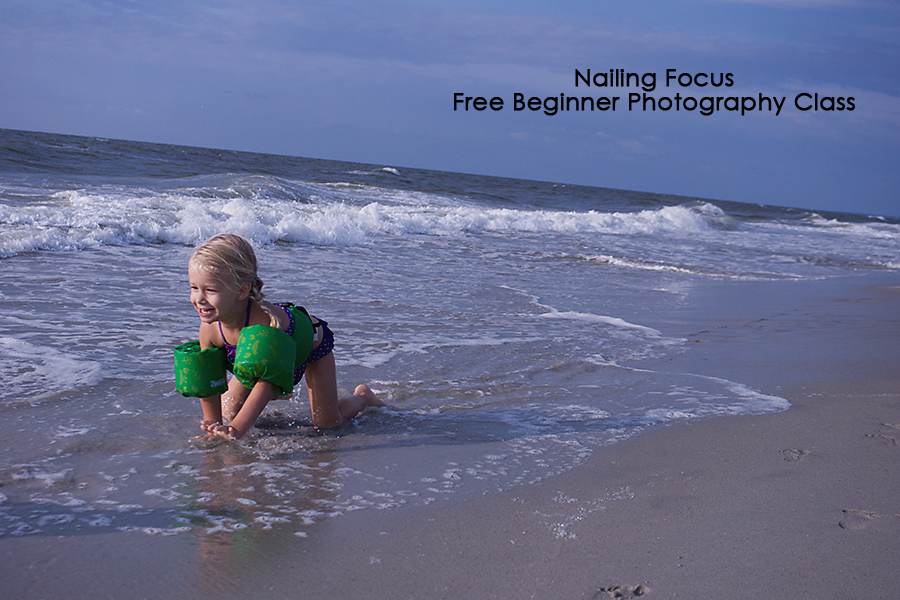
Nailing Focus
There’s nothing more disappointing to me than taking the ‘perfect’ shot only to pull it up on the computer and discover that I missed focus. Ug! This is one of these areas that I’m learning along with you because I learned on and used a manual focus film SLR until 2009. Yeah, I’m one of those die hard old school fans. I’d love to move my lifestyle family mini sessions back to film someday… ah, dreamy.
Wait. Where were we? Oh, yeah, nailing focus.
There are two things that tie into nailing focus: Focus Mode and Auto Focus Area. Let’s tackle these one at a time.
Focus Modes
You’re going to have to consult your manual to find out how to toggle these handy dandy focus modes.
Manual Focus or MF
Manual focus is focusing with the focus ring on your lens. Depending on your camera, you’ll need to switch either the lens or the camera into MF mode. Some cameras even allow you to toggle manual focus temporarily with a button on the back.
Manual focus is best used in the following situations:
- When you don’t have enough light or contrast in your scene to lock focus with Auto Focus. You’ll know this is happening if your lens keeps running and your camera won’t allow you to fully depress the shutter button.
- When you’re shooting still life or a very still subject
- When you’re shooting at infinity on a tripod for say a landscape with a closed down aperture
- When you know the exact distance from your sensor (marked on your camera body) to your subject. Usually the camera is on a tripod for this.
One Shot/AF-S/Auto Focus Single Shot
When you half depress the shutter button halfway, this will grab focus on the point the camera or you have selected it and hold focus on this point. You can use this mode to focus on a certain point and then recompse an image by holding down the shutter button halfway.
This focus mode is used for still subjects like landscapes or adult portraits or cooperative children. Keep in mind that if you’re shooting wide open, even a small movement of your subject can cause missed focus in AF-S mode.
Al Servo/AF-C/Auto Focus Continuous
When you half depress the shutter button, this focus mode will lock to the subject. As long as the button is half depressed, the camera will attempt to continue focusing on that moving subject.
Obviously this is heaven for toddlers, animals, and fast moving subjects. Switching into this mode could be a game changer with fast subjects. This focus mode works best when your subject is in the center of the frame. So shoot wide and crop later.
Al Focus/AF-A/Auto Focus Automatic
When you half depress the shutter button, the camera will decide whether the subject requires AF-S or AF-C. But just like manual mode, the camera can get it wrong. You get to pick whether you want the camera to decide for you or not.
Auto Focus Area
In addition to choosing the Focus Mode (how your camera will focus), you also can also choose Auto Focus Area (where your camera will focus). Again, you’ll have to consult your manual to determine how to change your Auto Focus Area, but it’s totally worth it!
I’ll be using the names for the Focus Area as Sony describes it… so you may have to consult your manual to determine your respective names 😉
Automatic or Wide
The default setting. Do you really want your camera choosing where to focus and deciding on an area different than you would have wanted? I thought not. So lets move away from keeping it on AF Automatic.
Spot
The spot selected for focus is usually dead in the center. This is great if you’re using AF-S to set focus with a half depressed shutter button and then recomposing the image. You just may want to make sure you use a slightly more closed aperture for this technique. Obviously, spot also works great for taking images where your subject is in the center.
Zone
Here’s where you start bossing your camera around rather than letting it decide for you. In zone focus area, you can select which side of the frame the camera will pick focus from: left, middle, or right. It’ll still do half the work in picking the specific point of focus, but at least you’ll know it was pointed in the right direction. I use this AF Area when photographing toddlers or subjects that don’t allow me enough time to use Local focus area.
Local
Local allows you to pick the specific point where the camera will focus. I have 19 focus points in my professional level Sony a77 SLT. I had only had 9 in my entry level Sony a200. Using a joy-stick, I toggle between the focus points and tell my camera where I want it to focus: for most portrait situations this is the subject’s leading eye. I would not use this with subjects that don’t give you a lot of time to toggle focus points: namely children, or cars, or animals.
Further Resources for Nailing Focus
This is the first post in a series about nailing focus and goes into a bit more depth than I have written here.
If you’re interested in getting really precise with learning focus, there’s a great ebook called Tack Sharp: A Step by Step Guide to Nailing Focus. This is affiliate link for a product that goes into further depth on this subject. If you have problems with focus, feel free to invest.

english major
so what is we to do?