Aug
19
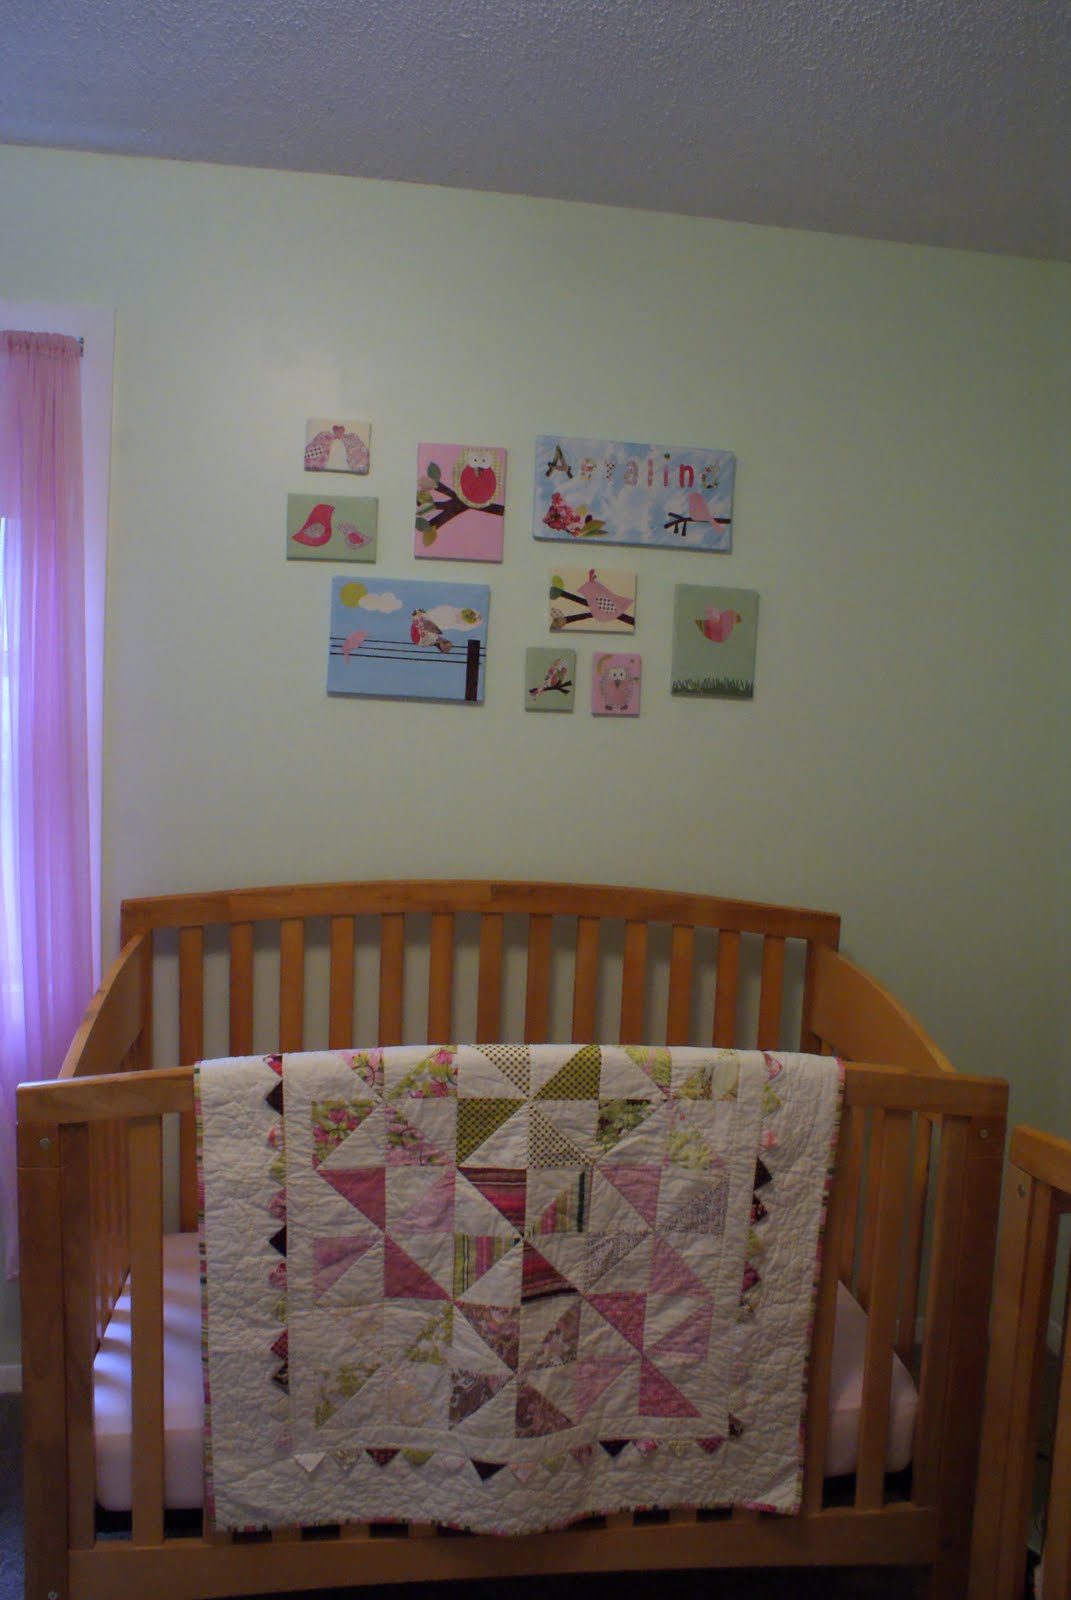
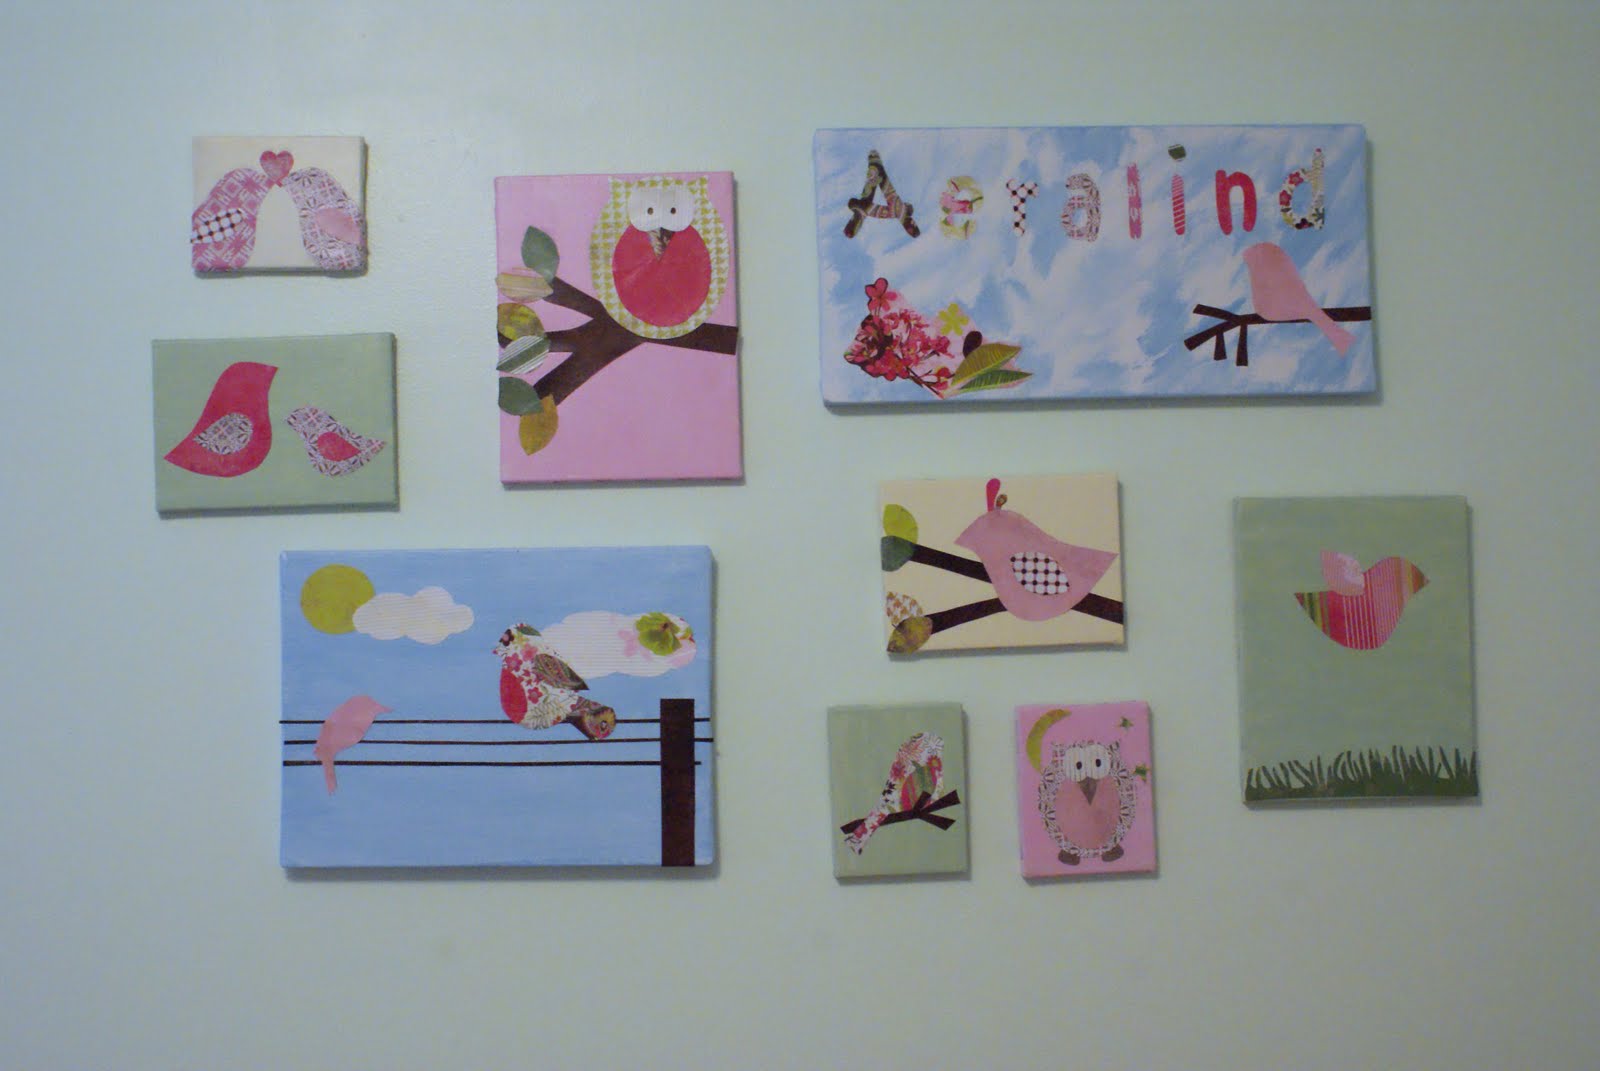
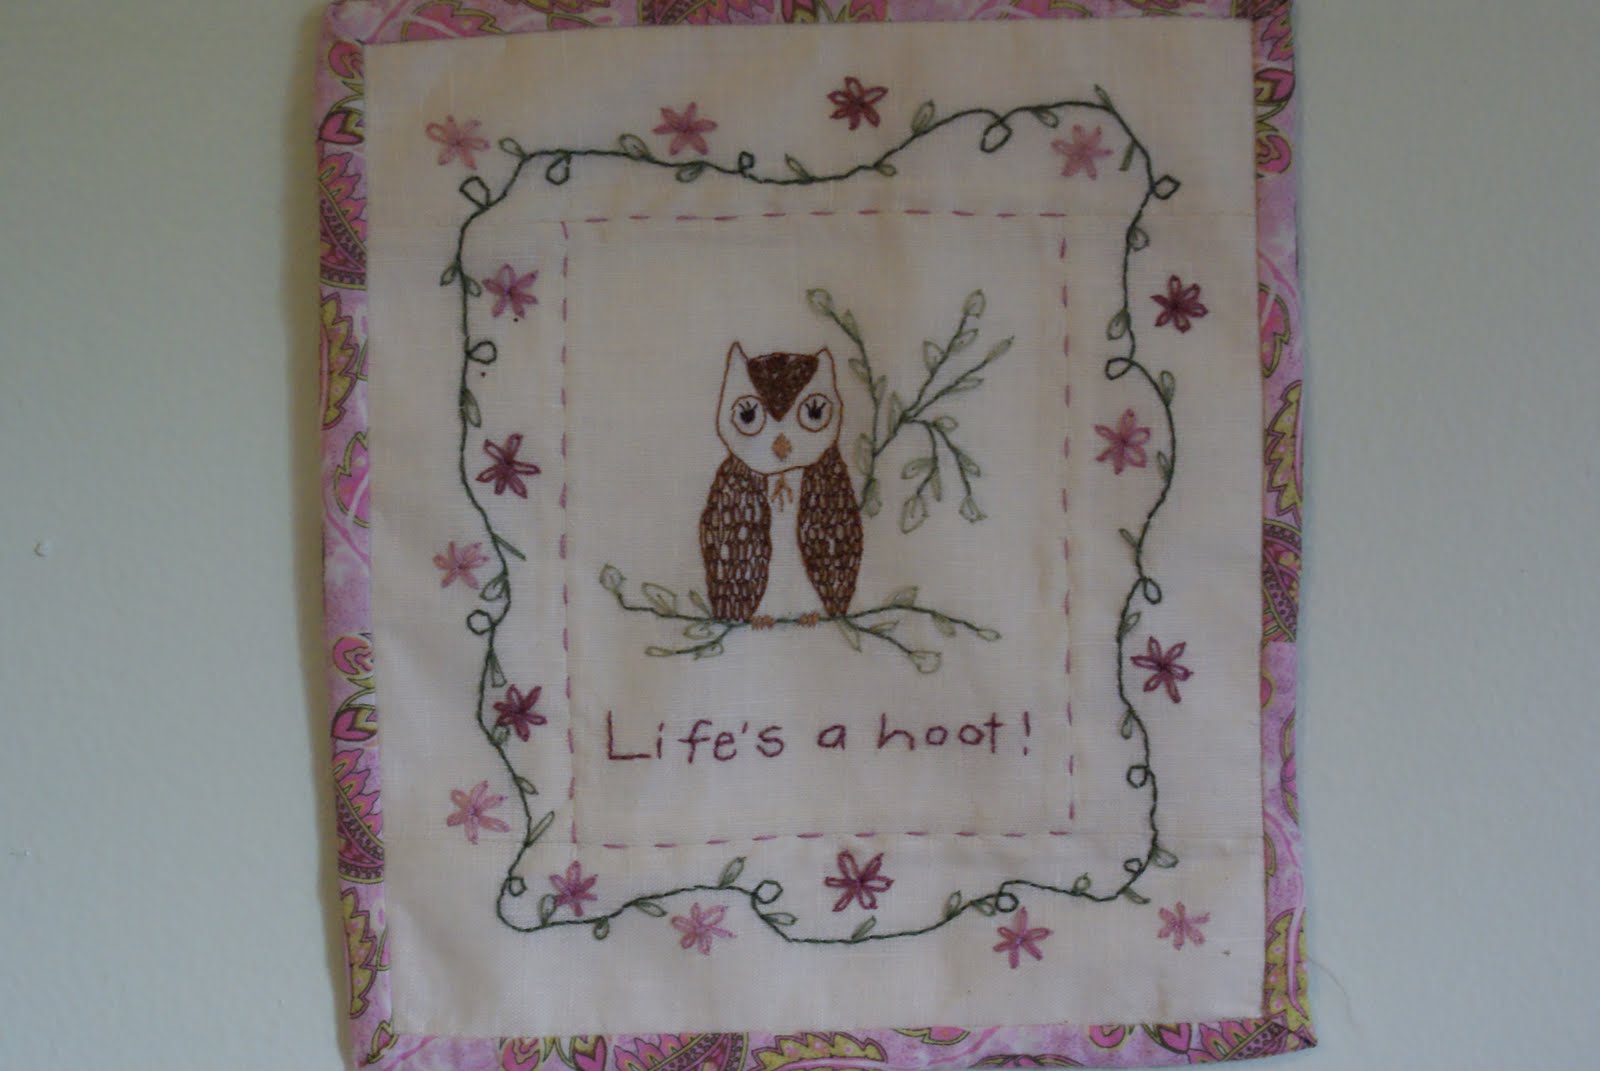
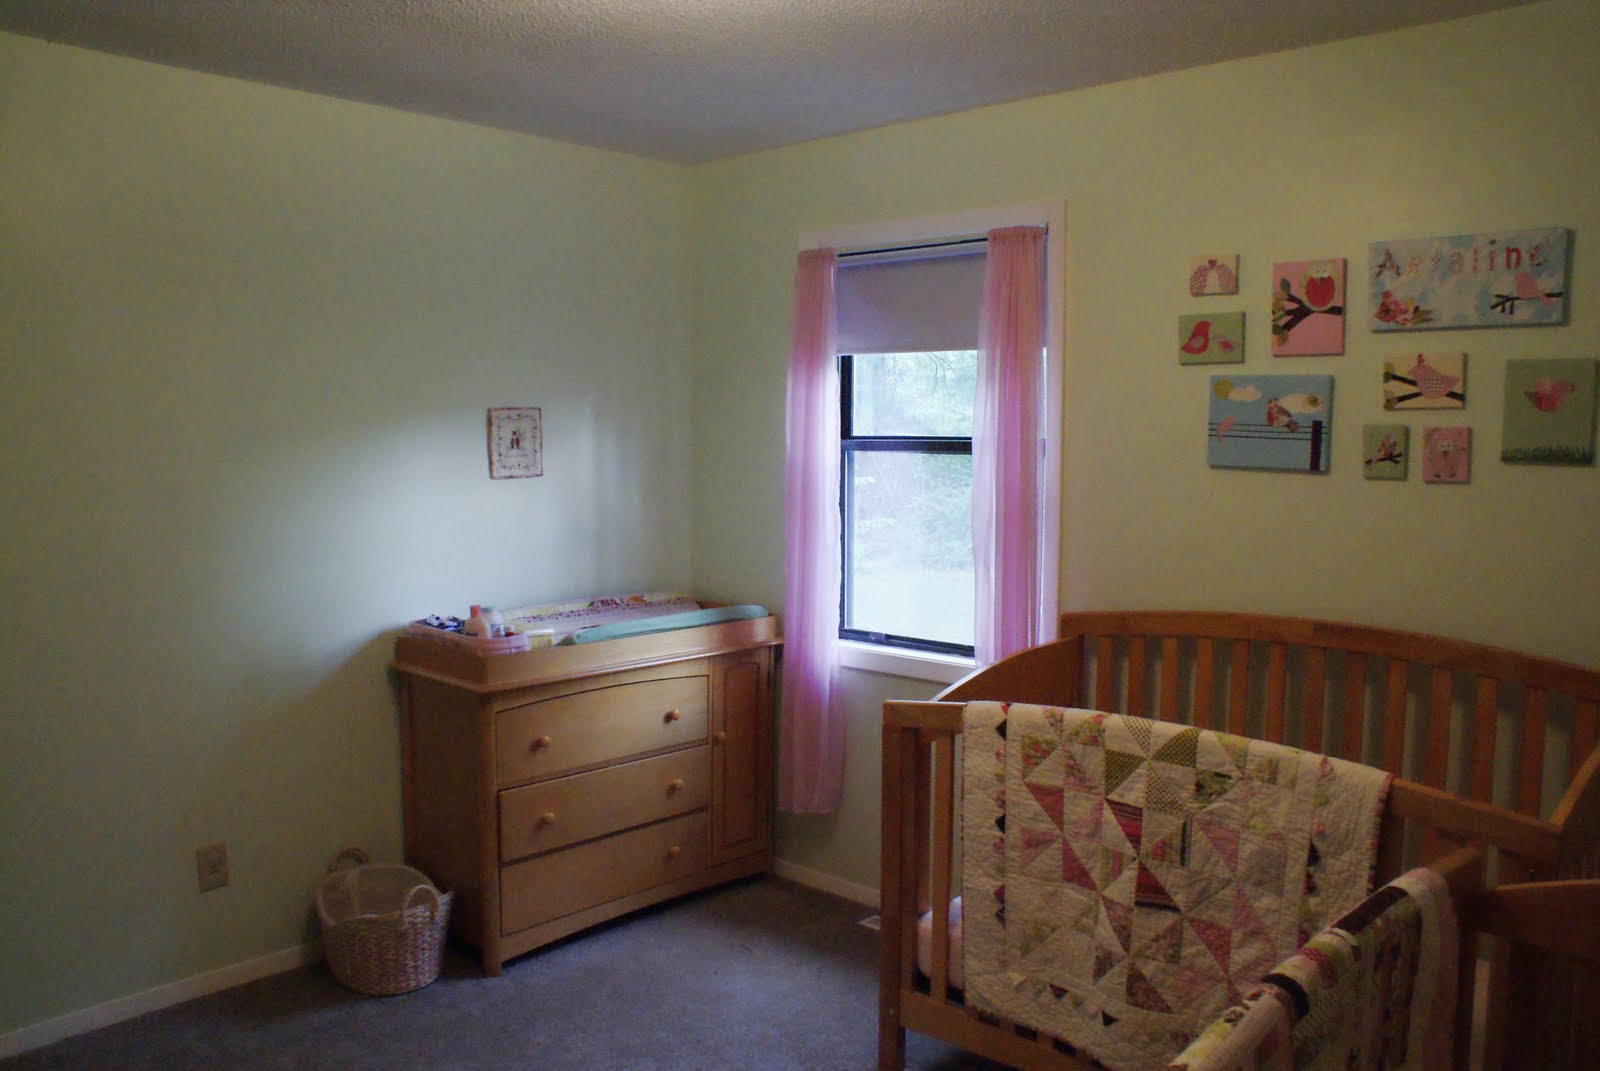
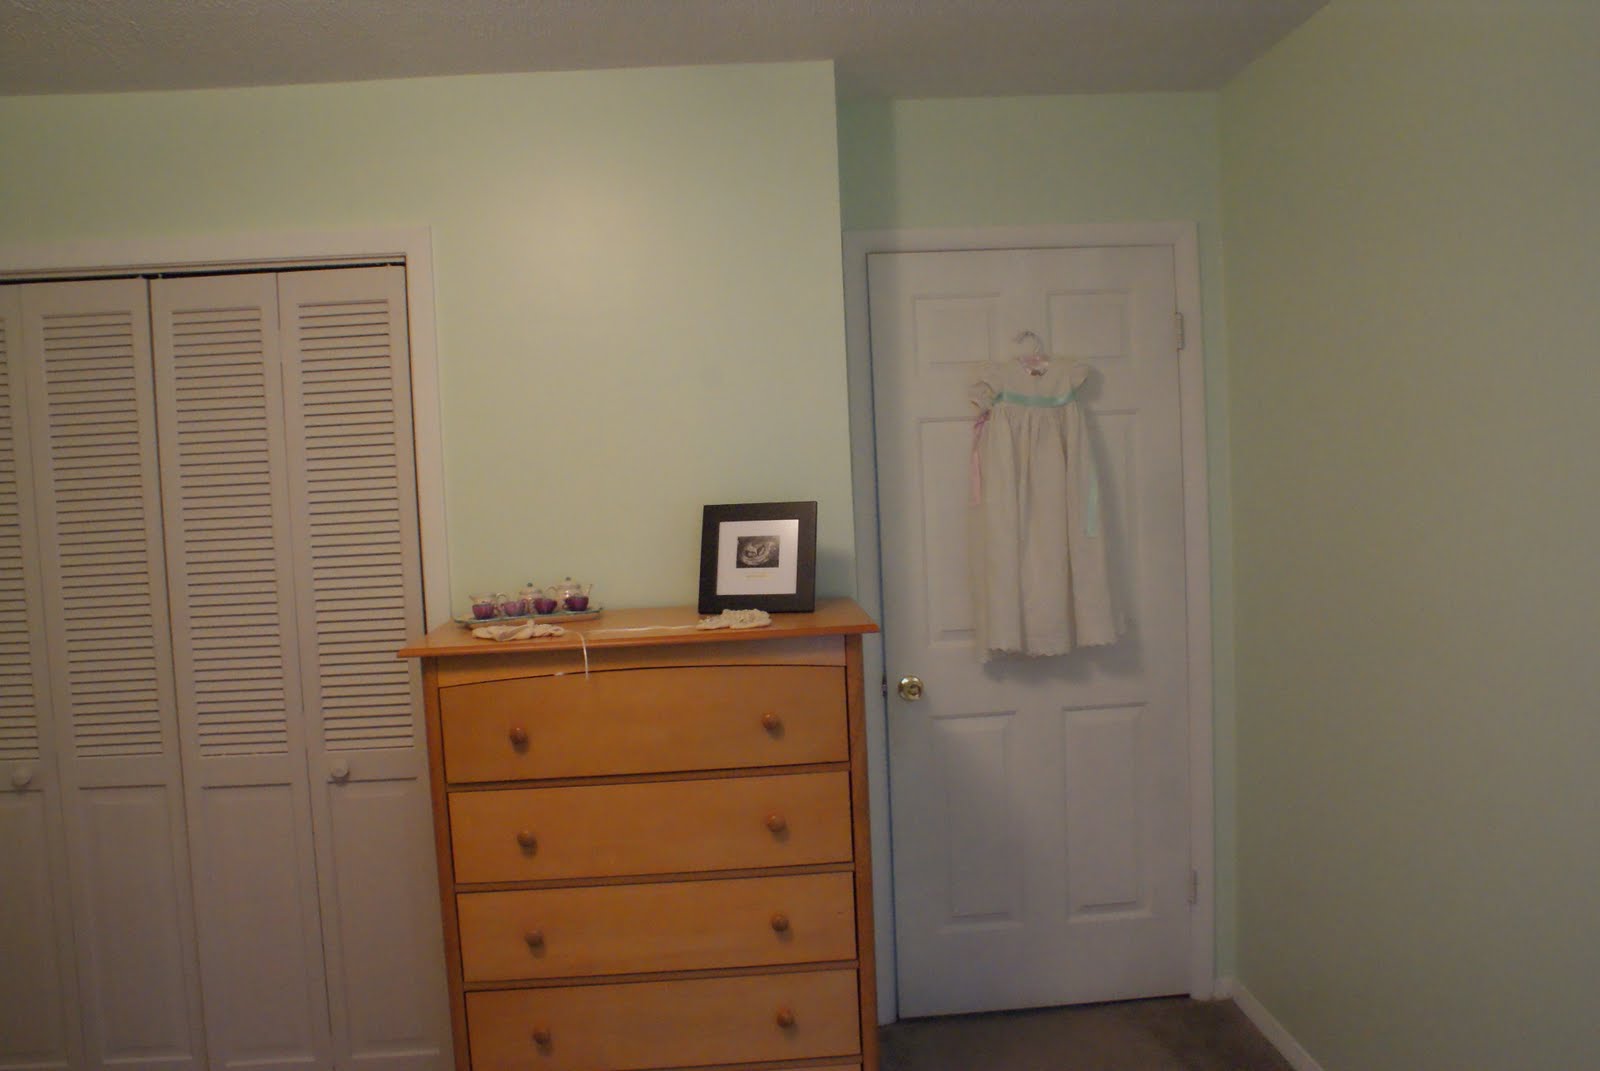
2010As the girls near their first birthday, I’ve been reminiscing about how much fun it was to decorate their room last summer with all that anticipation and joy. I love their room so much. I would move in if I could. 😉 I documented most of the decorating process back as I did it: the bird art, the quilts, the owl embroidery. I took the photos for a tutorial of the changing pad cover, but I never managed to load that on here. Maybe I’ll get to that soon 🙂 But for now I just wanted to show you what their room looks like and how much fun it is! The walls are green and I think they last photo is the best representation of their color.


Aug
13
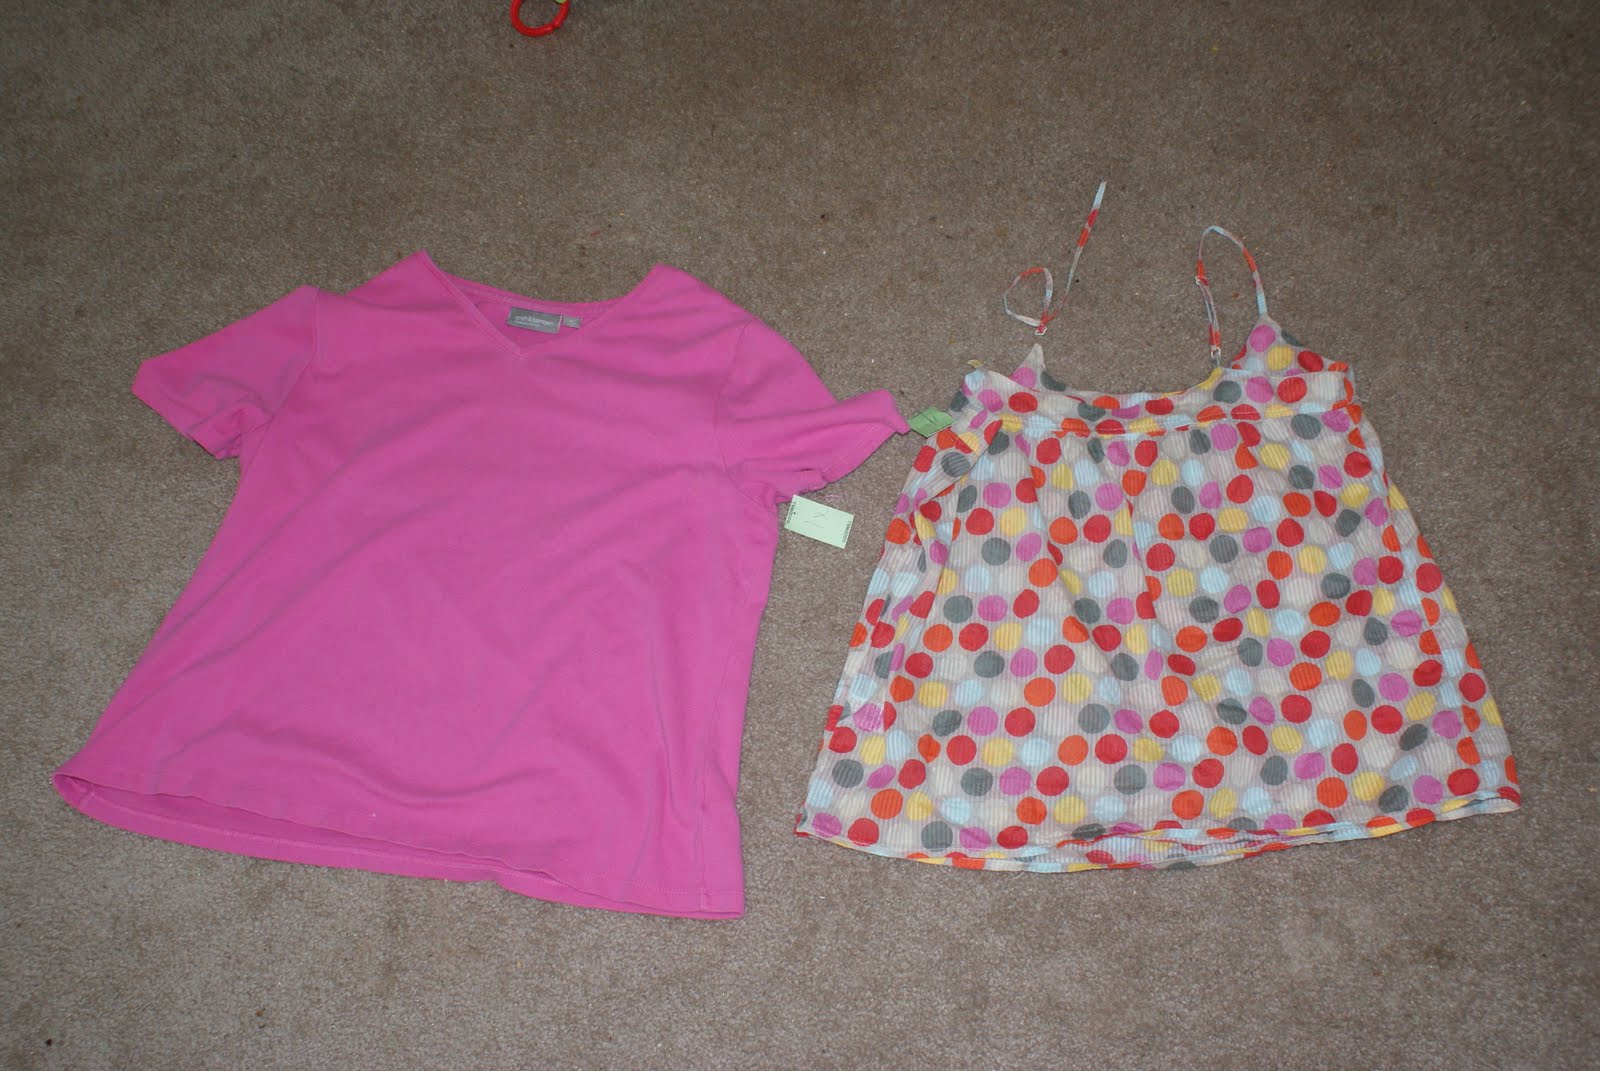
2010Last week I went thrift store shopping. I was looking for some tops for me and maybe even a dress to refashion. However, pushing a stroller through crowded aisles, with no one to talk to, and with a bizillion racks of clothing filled with random items… well, it gets old fast. I did however spot one adorable grown up gauzy spaghetti strapped tank that I just had to have. I knew I wouldn’t wear it (I don’t even own a strapless bra that fits!), but I knew two little girls who might just look good in the yumminess of that tank’s fabric. I also grabbed a 1x sized t-shirt to make pants to match.
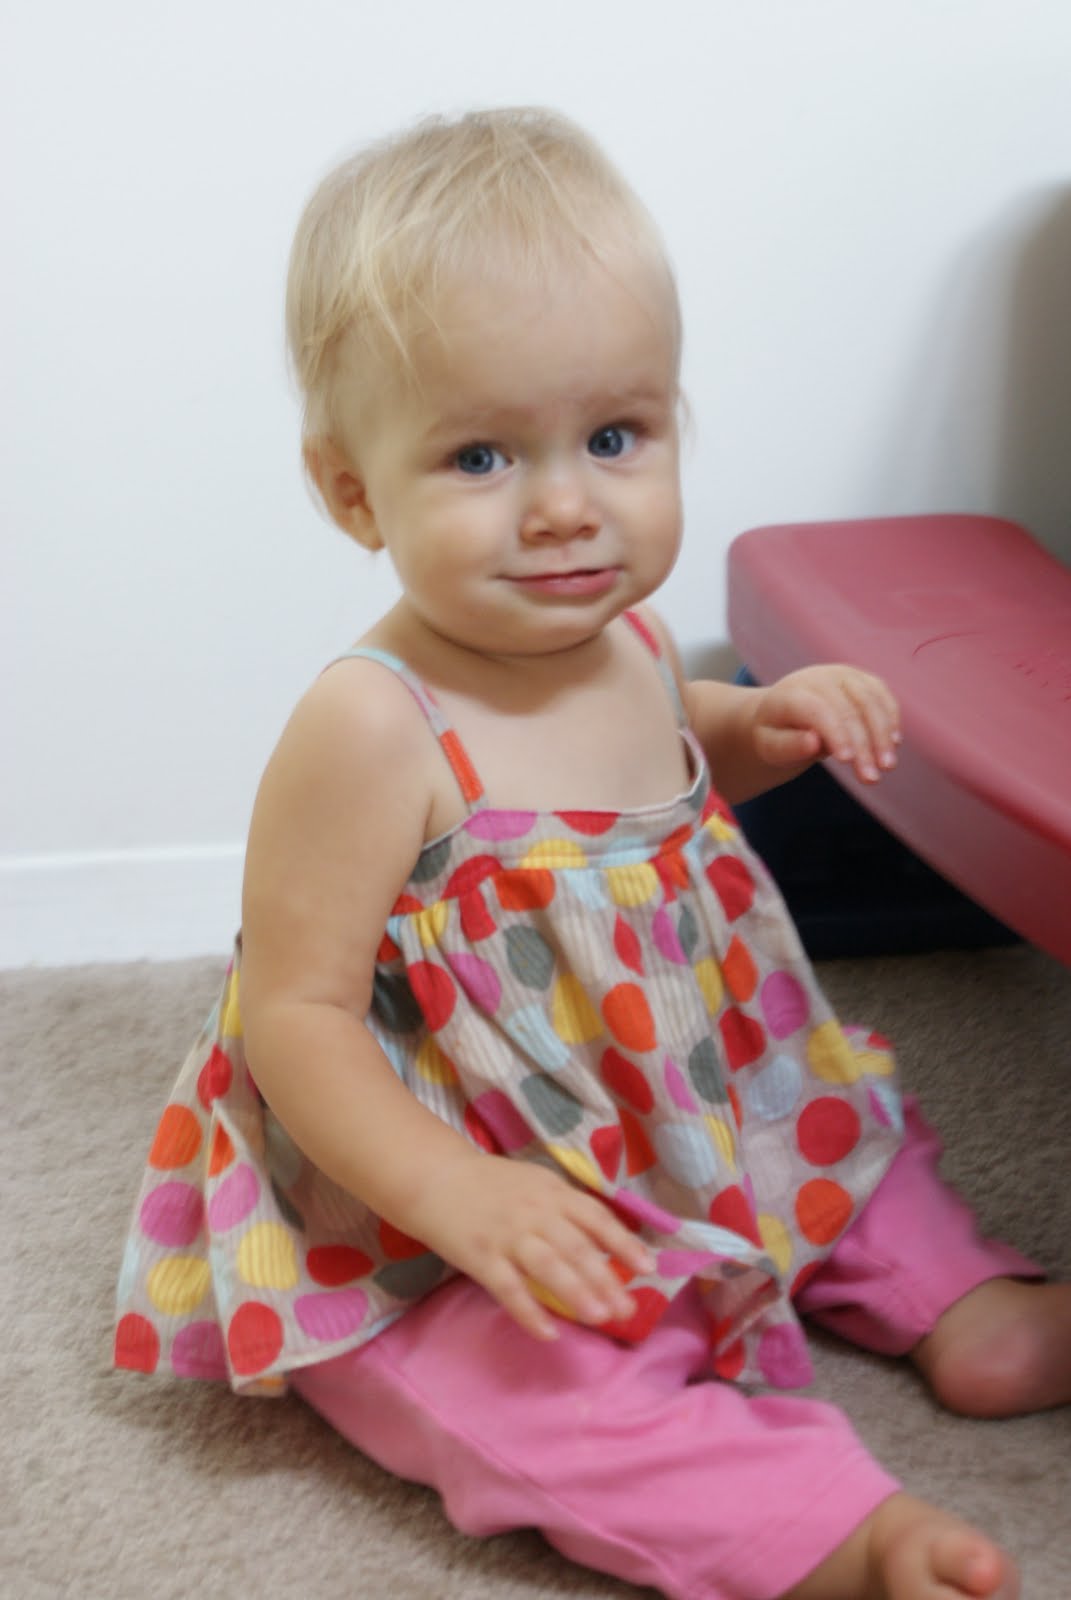
And here is the result of that shopping spree: The Bumble Gum Tops and The Big Butt Baby Pants
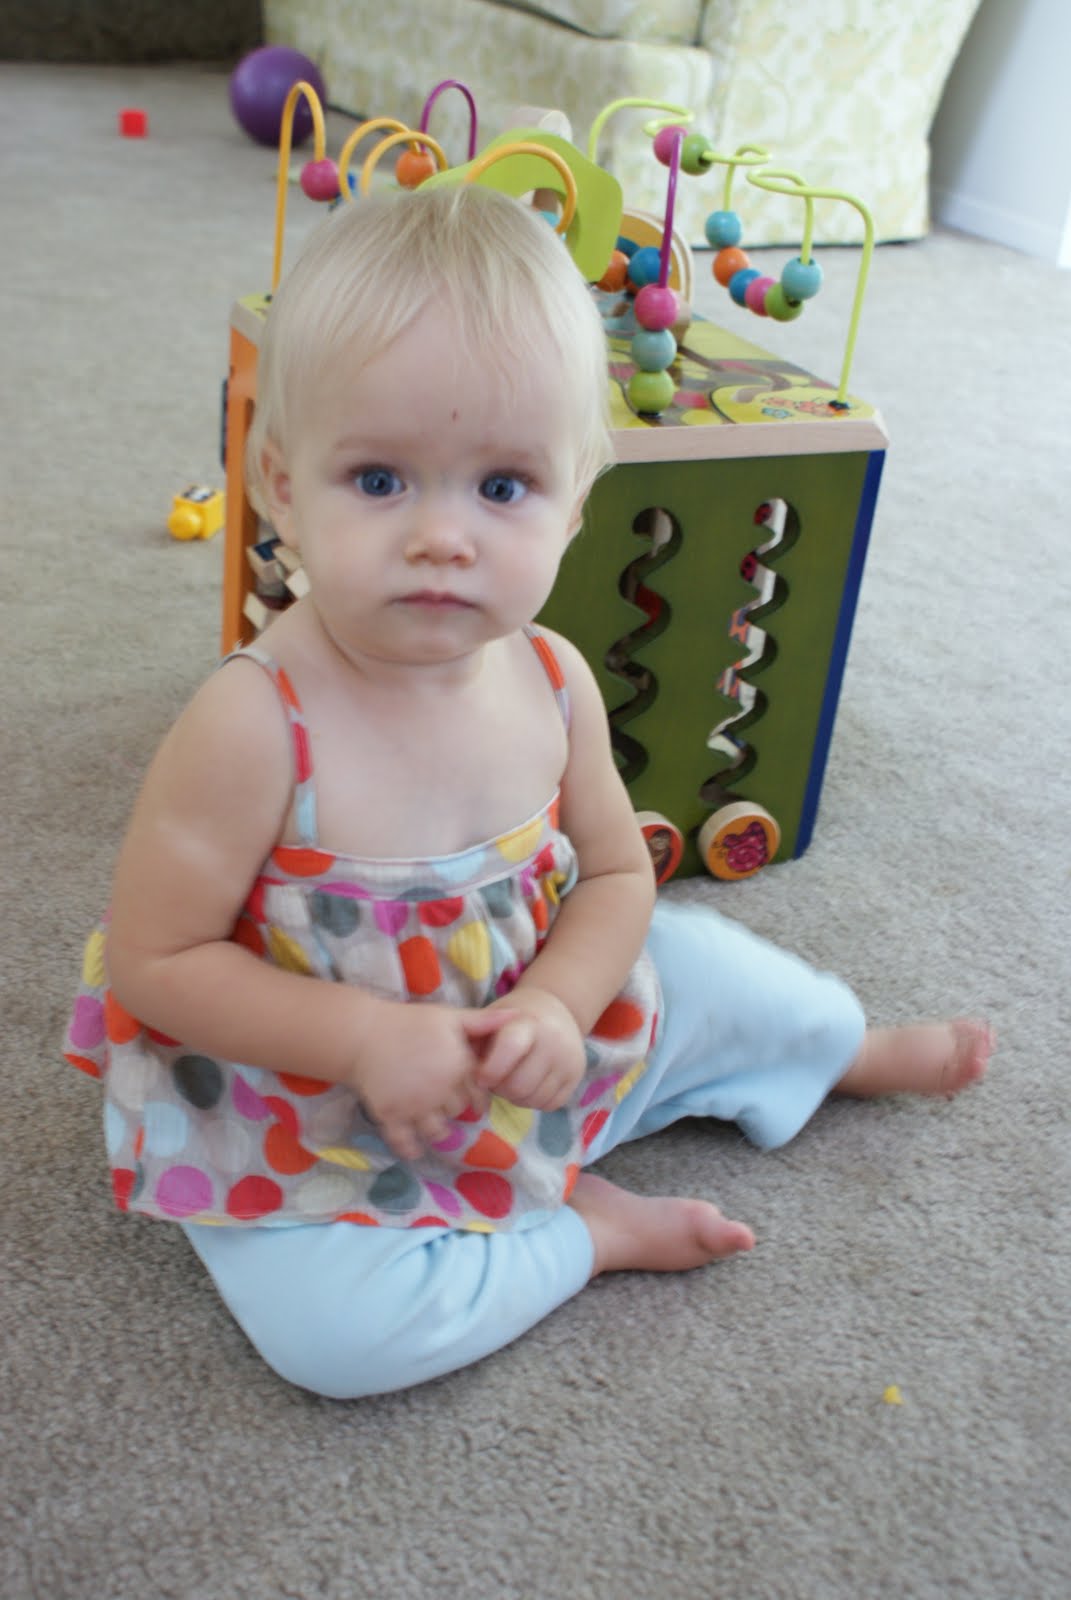

The tops are a modified version of my Grow Up Together Dress. I love the sheerness and floaty quality that the fabric has. Aeralind loves grabbing her top and swinging it around. Mommy loves that they’ll be equally as cute over a long sleeve top on a dreary winter day. Sorry about the photo quality 😉 Getting these girls to sit still these days is like hog tying an angry elephant!
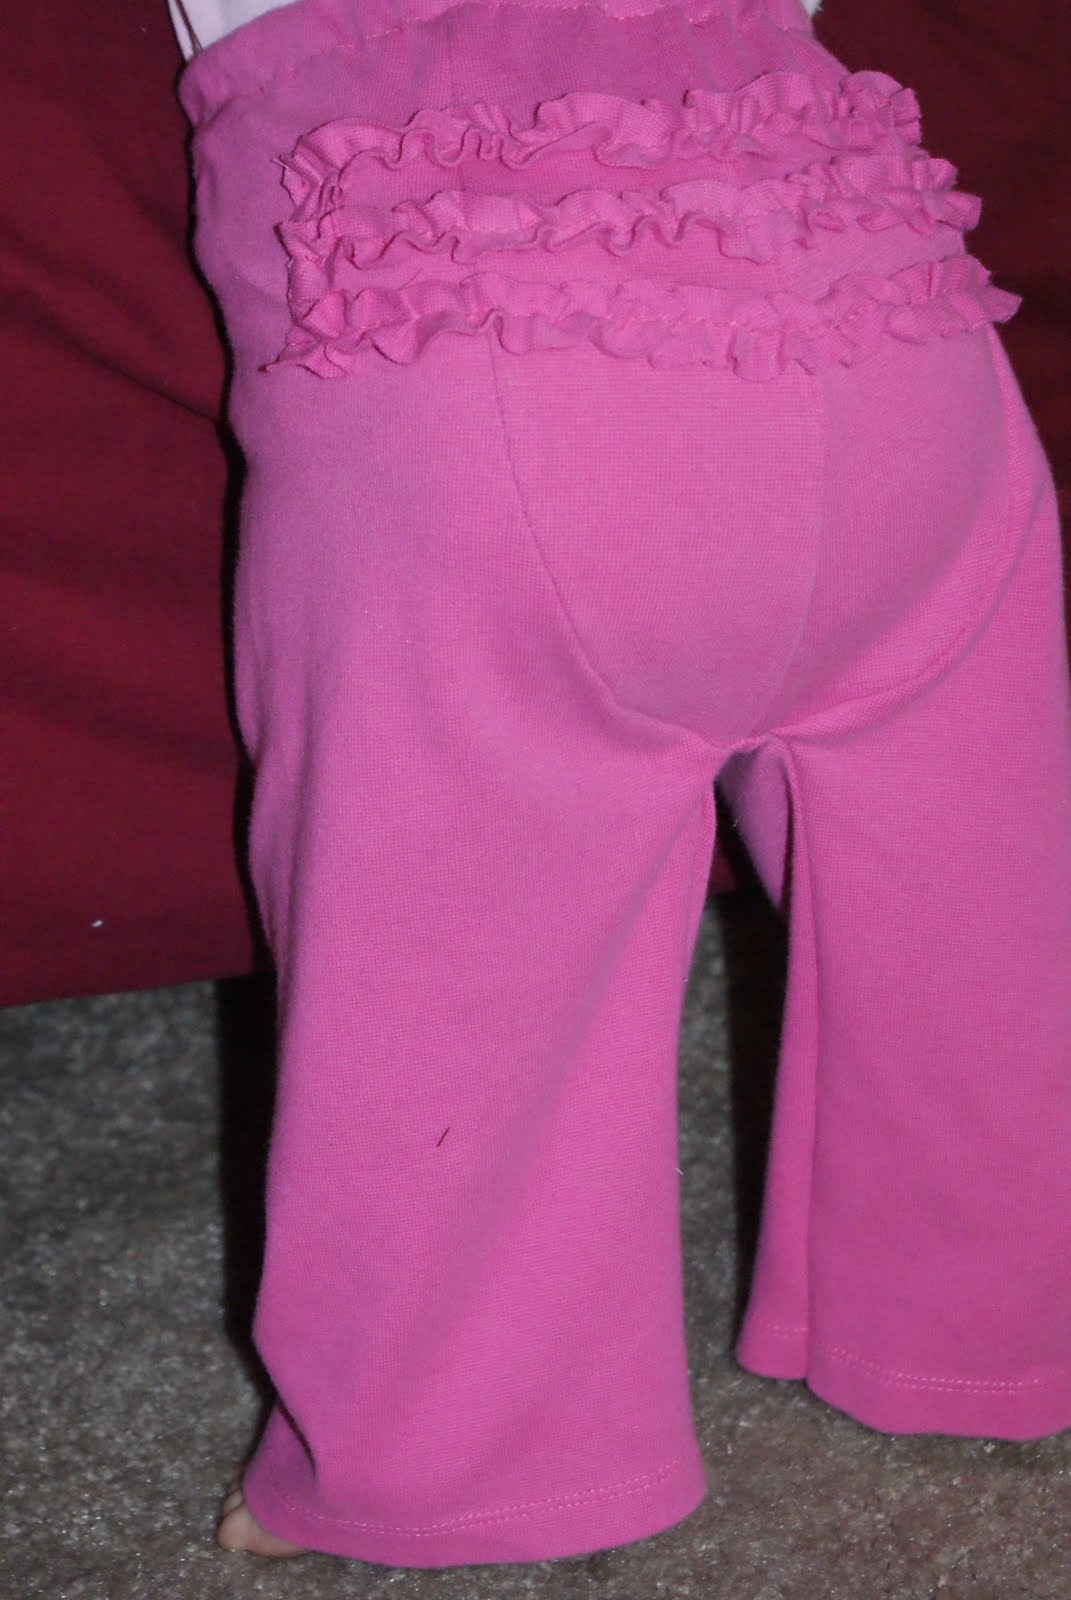
Unfortunately my 1x pink t-shirt only had enough fabric to make one pair of Big Butt Baby Pants. I was testing this pattern for Rae and I can’t tell you how perfect the pattern is! If you have a cloth diapered baby and your sick and tired of their diapers hanging out of ill fitting pants then you need this pattern. My head is swimming with the possibilities: crawler skirts, bloomers, shorts, ruffly pants, and maybe even faux jeans: all that fit over my girls’ huge diapers but don’t slide off because they are big everywhere else!
So what do you think? Much improved over this, huh?
Jul
13
2010I’ve been sewing through my fabric stash as furiously as I can during naptimes, but most of my leftover fabrics just aren’t cute or fun. Actually, I’ve recently made a Knight costume and a Peter Pan/Robin Hood costume. I don’t even have boys. It was time for a girly project and I just kept waiting for the right one to appear.
And the perfect project appeared recently. This adorable Baby Sunsuit!
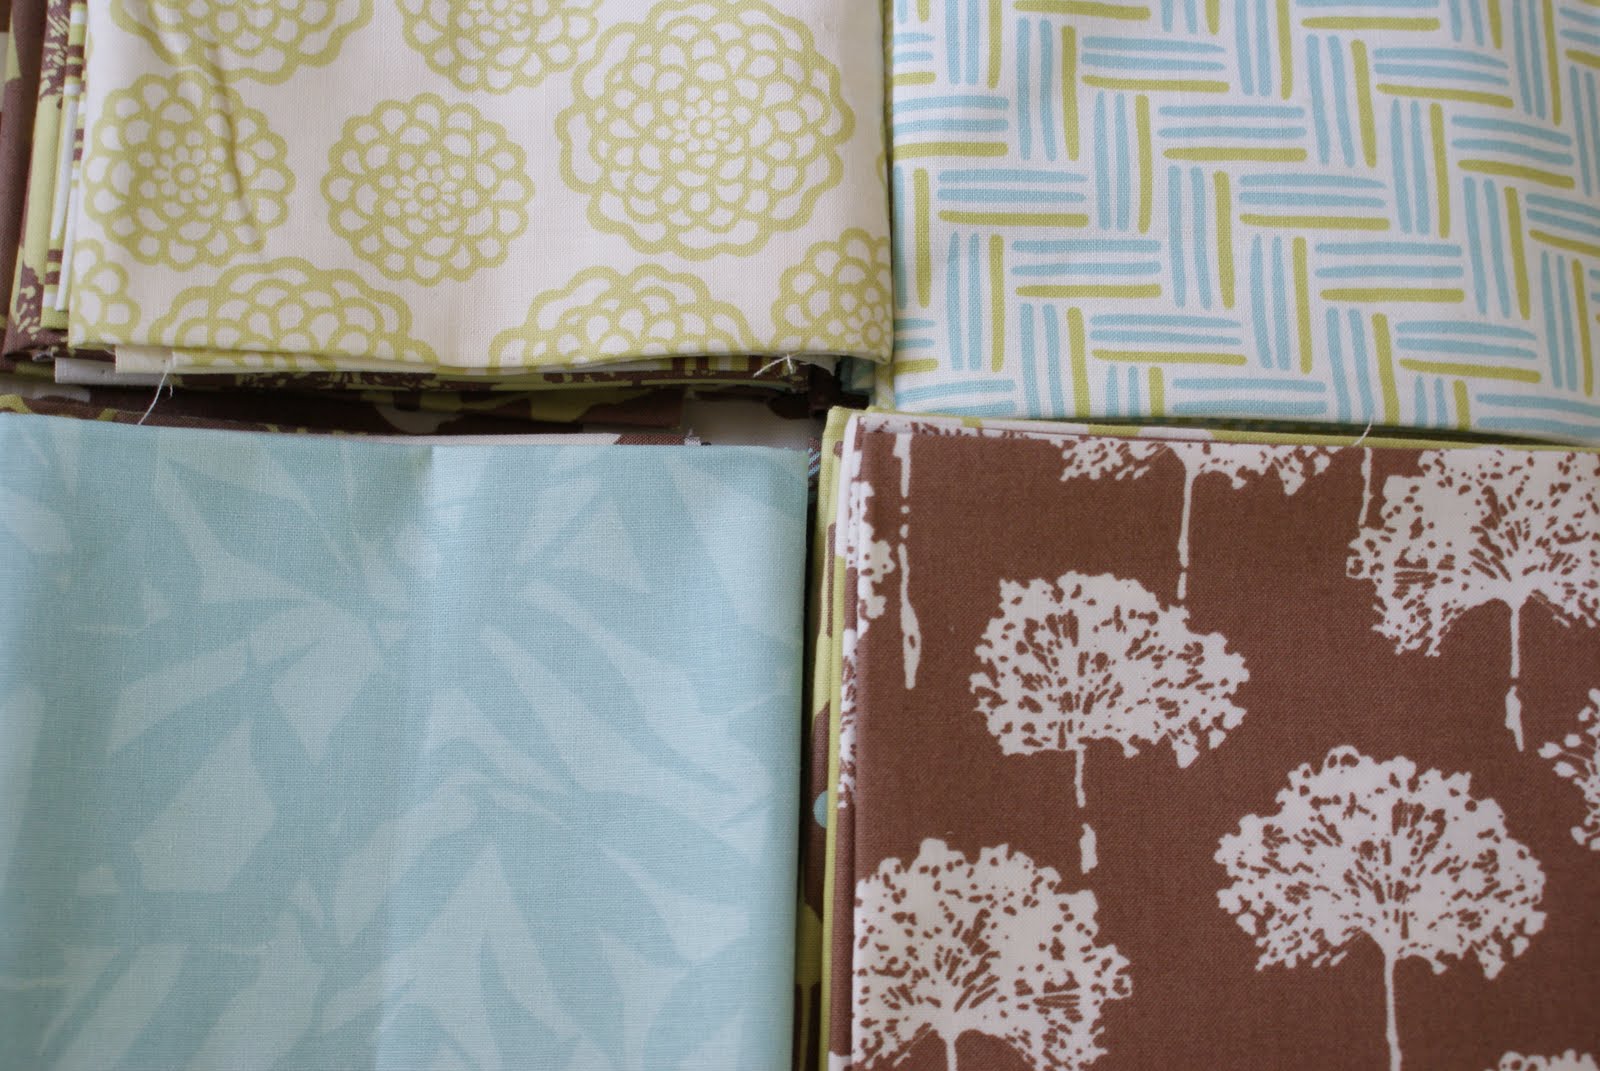
So I raced off to my local quilt shop and looked for a super fun fabric in two coordinating colorways. I picked up some Marabella by Amy Hamberlin. And whipped both of these up in about 4 hours. I love this project!
And they are so darling 🙂
(More photos in their 10 Month Post)
Jun
20
2010

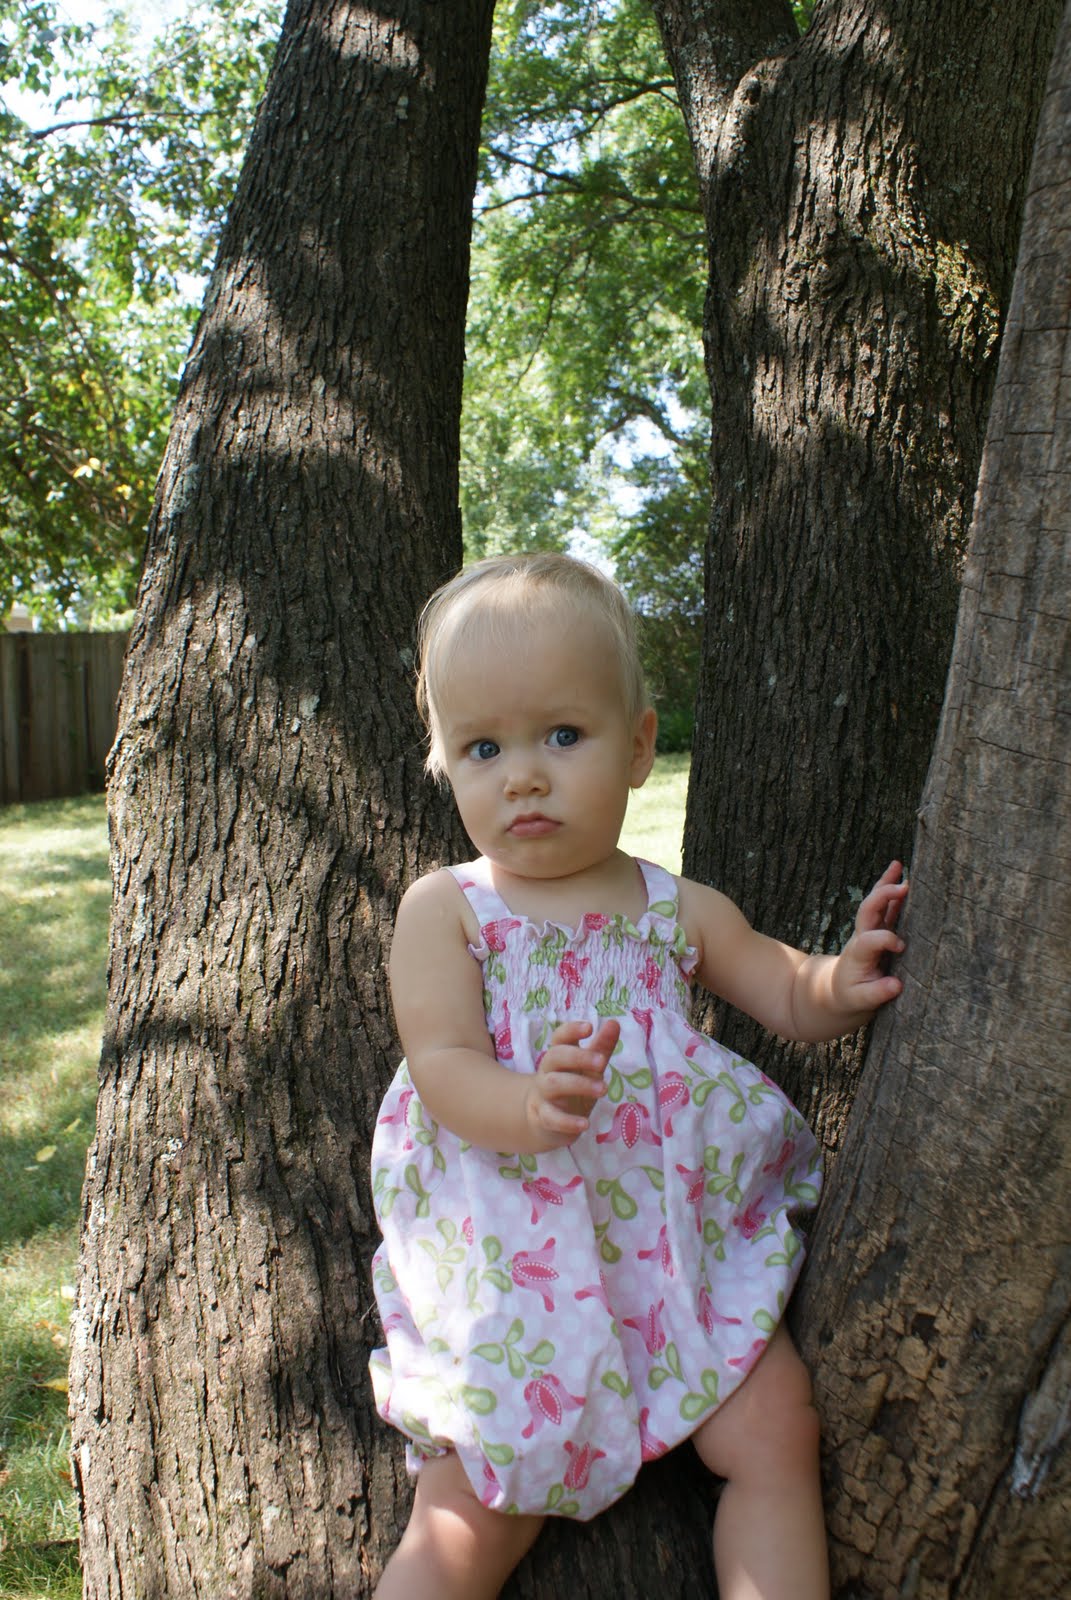
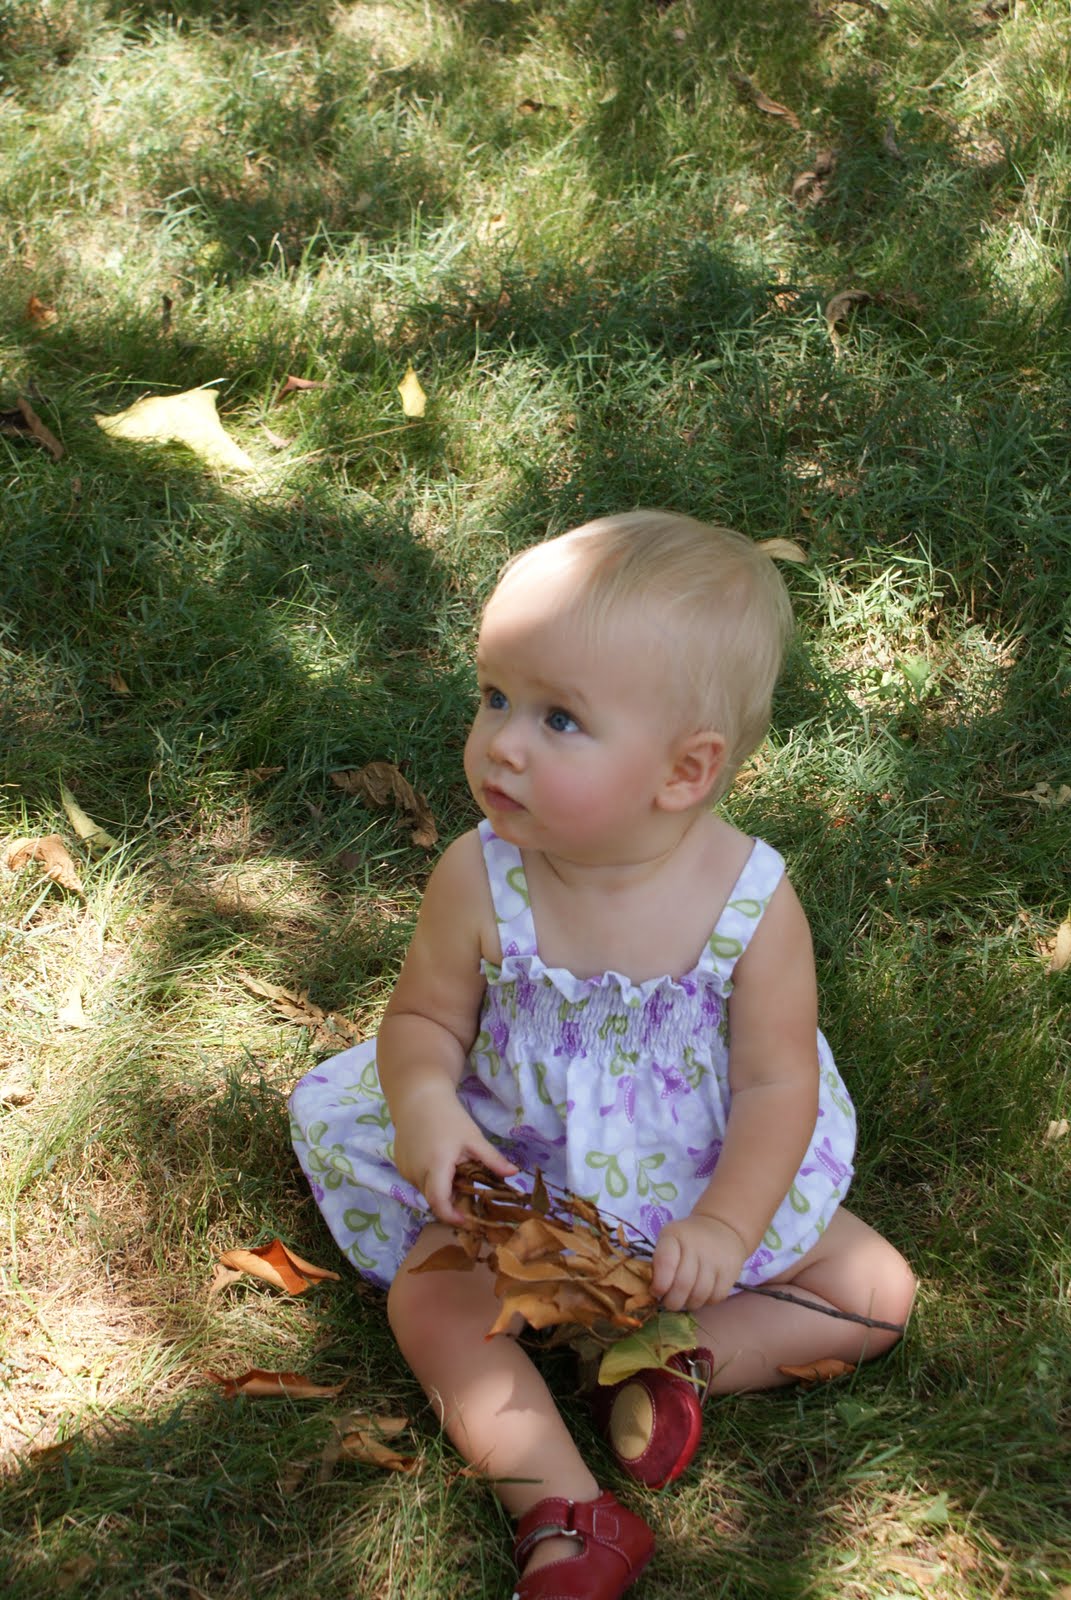
This sweet little dress will grow into a top as your daughter grows older. It fits my daughters (with chest circumfrences of 17″ and 19″) and should fit until the chest circumference is between 22-24″ (according to my Oliver and S pattern sizing chart that is about at 3-4T)
This dress should be easily accomplished by a beginner: all the pieces are rectangles, all the seams are straight and honestly the hardest part is gathering the skirt to fit into the tiny circumference of the bodice. It takes about 3 1/2 hours to finish or about 2 naptimes of 9 month old twins.
To see these dresses in Year 2 and Year 3 click these links. They’re still going strong! Materials:
- 1/2 yard of printed fabric (Mine is Amy Butlers Belle Eyelashes in Okra)
- 1/4 yard of coordinating solid colored fabric (Mine was Chocolate Linen that I had in my stash though I would recommend a lighter weight fabric for the shirring)
- 8″ of 1/4″ elastic
- Elastic shirring thread
- Coordinating thread for your fabrics
Instructions:
- Cut a 15″ by the width of your fabric piece from your half yard. If you wanted a longer dress/top you could use the entire 19″. I was working with a 30″ piece leftover from making myself a skirt so I just sliced it in half so I could make one for each girl.

- From your solid fabric cut the following
- 2- 3″ by 10″ rectangles for the bodice front
- 2- 3″ by 14″ rectangles for the bodice back
- 2- 2″ by 10″ rectangles for the straps
- Fold the 2″ by 10″ straps in half lengthwise. Using a 1/4″ seam sew the long seam and one end of each strap. Clip corners and turn right side out. Press. Rae’s strap tutorial is a great visual demonstration of this step.
- Measure and mark 3″ from each side the center of your back bodice length.
- Pin the two bodice backs together sandwiching the straps at the marks you just made. Sew along this length with a 1/2″ seam. Trim the seam allowance to about 1/4″. Turn right side out and press.
- Sew the front bodice pieces together lengthwise with a 1/2″ seam. Turn right side out and press.
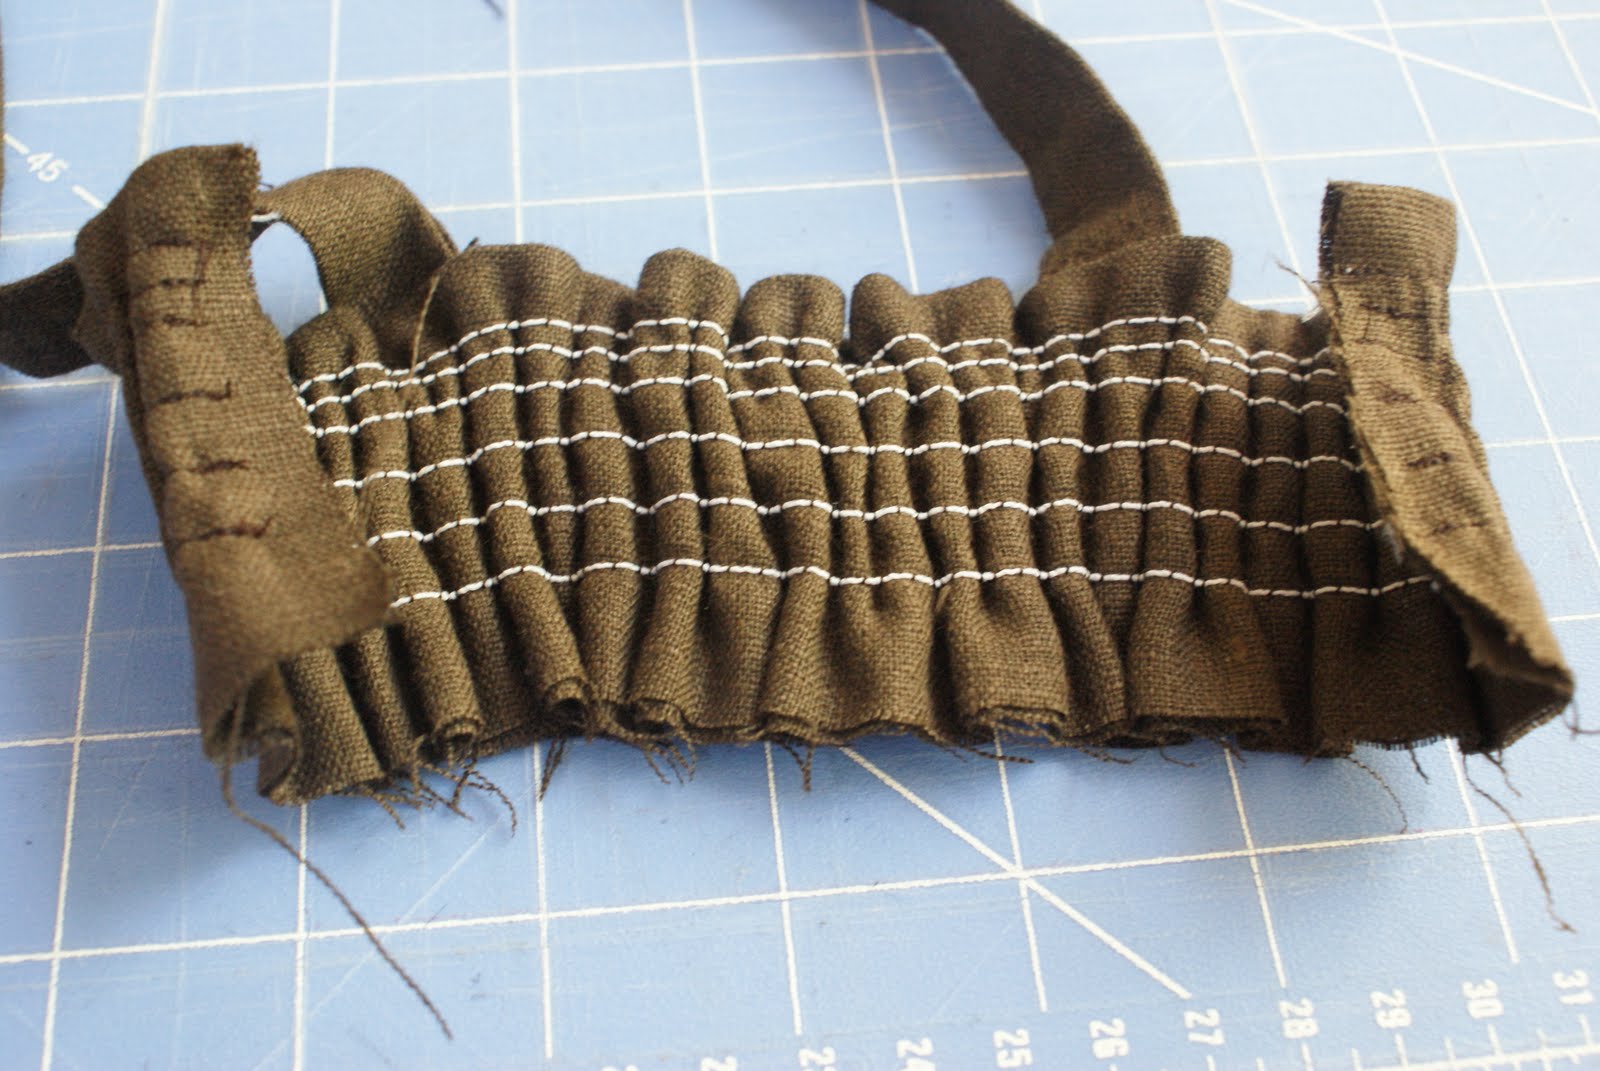
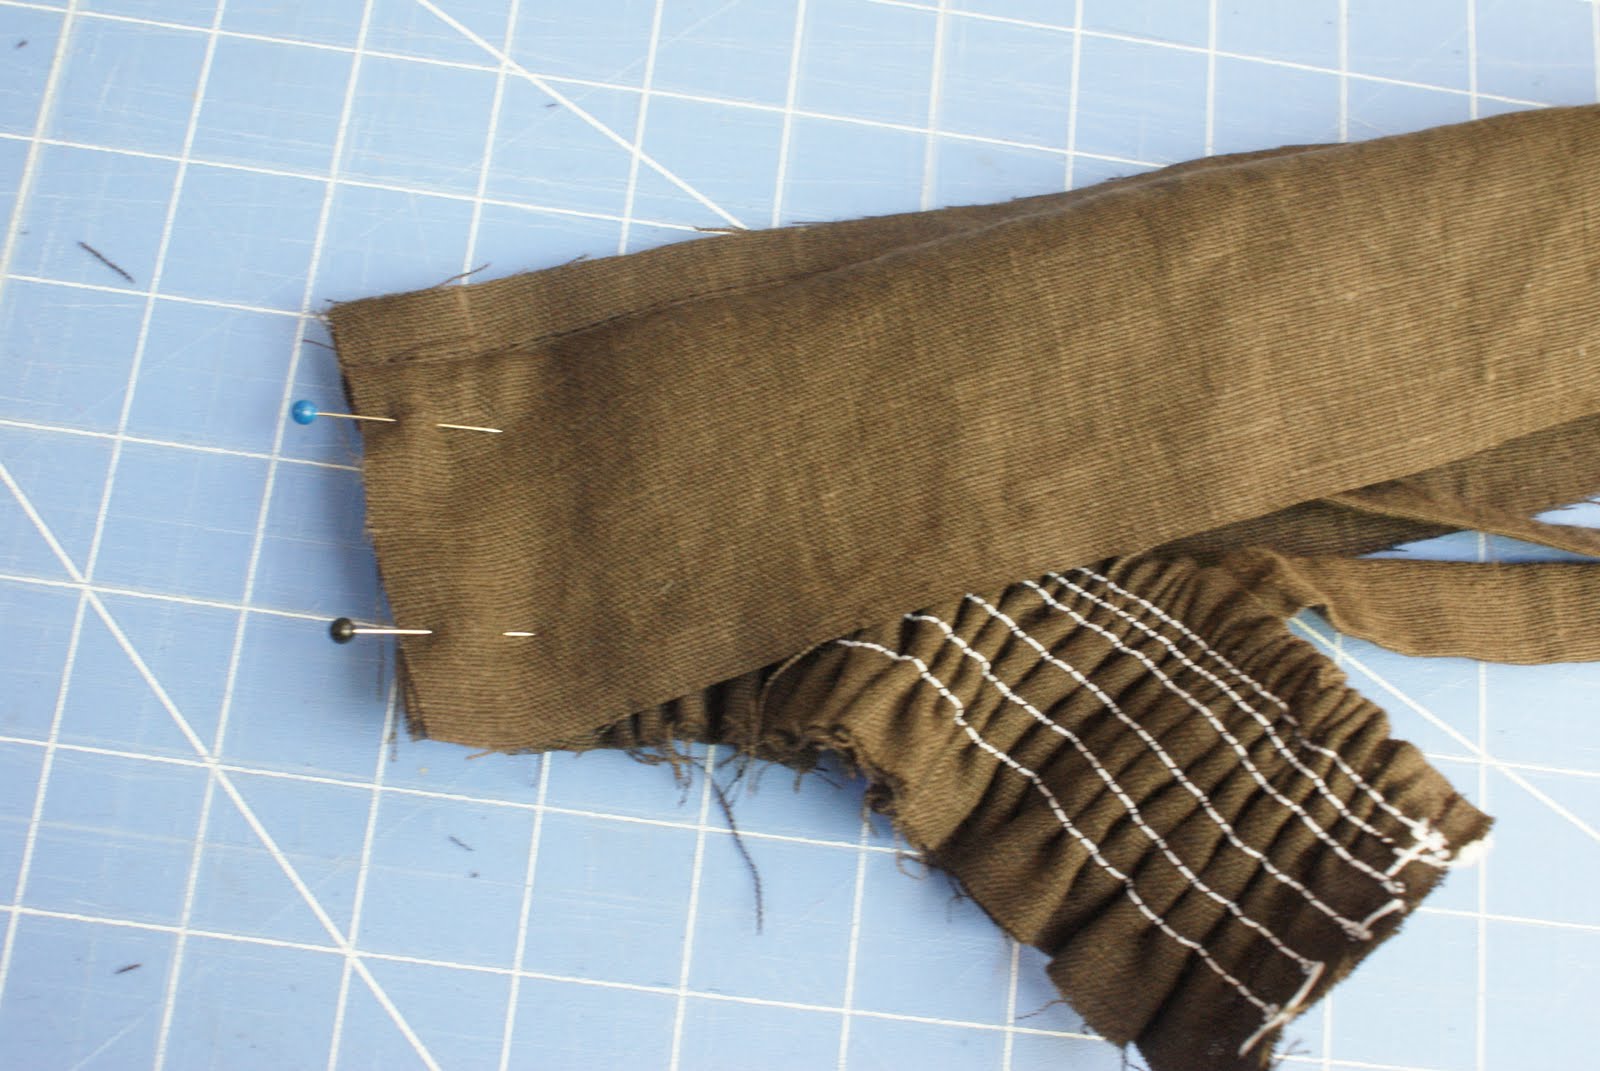
- Shir the back bodice using the elastic thread. Start shirring 3/8″ from the top seam. Shir in regular intervals leaving about 3/4″ at the bottom. (My piece has a extra line of shirring between the first two because my heavier weight linen made it difficult for the elastic to gather near the seam. This photo is of the elastic on the back of the piece).
- Steam your shirring with you iron so it gathers up.
- Thread your 8″ piece of elastic down the casing between the top seam and the first line of shirring. Stitch both ends of your elastic down at the ends.
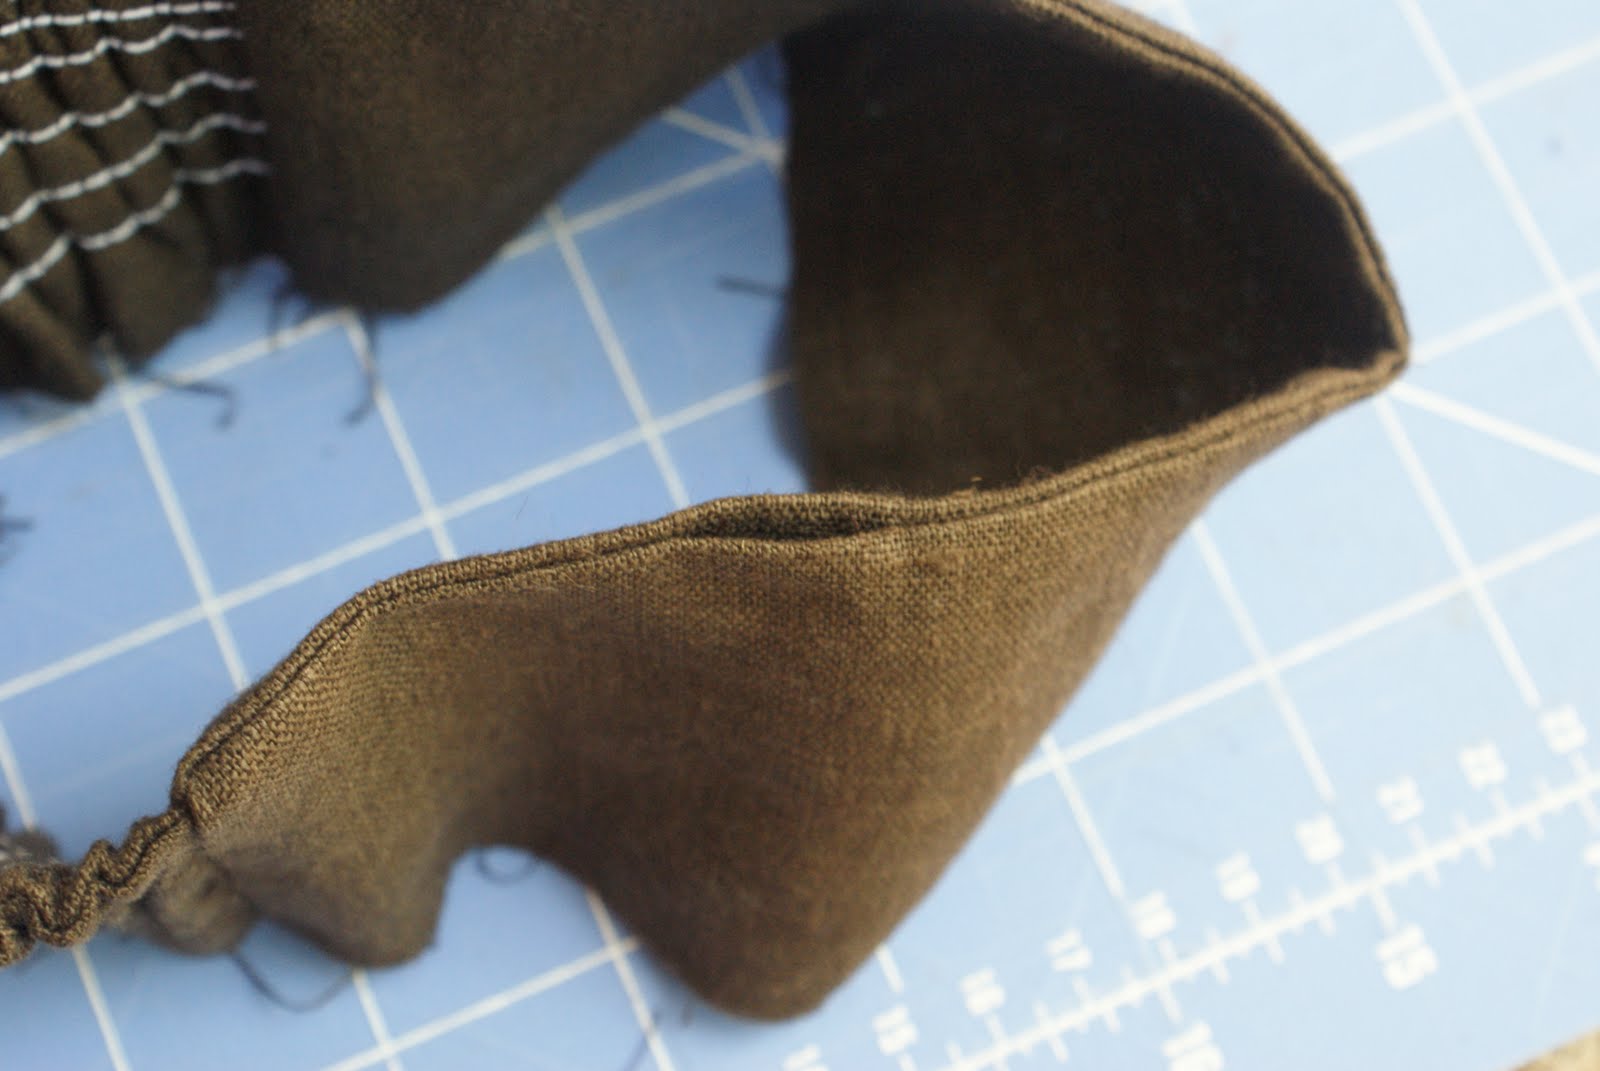
- Fold open and turn your front bodice piece inside out. Position the front bodice piece over the shirred back bodice like a sandwich. Pin and sew a 1/2″ seam. (I hope the photo is clear! This step is hard to describe.) Repeat with the other side.
- Clip corners and turn front bodice right side out.
- I’m sure there is a better way to do this, but this is how I attached the front straps. Measure 2.5″ from the center on both sides of the front bodice piece. Reach into the seam and rip one stitch. Spread the opening with your fingers until you can fit the strap end into the hole.
- Try the bodice onto your child and pin the straps into position. I left mine loose so that they would have room to grow. For my girls the final strap measurement was 8″. I did not trim the strap end so that when they grow taller I could rip the top stitching and lengthen the strap easily.
- Top stitch the front bodice piece to attach the straps and close your opening.
- Using your patterned fabric sew the 15″ edges together to make a cylinder. Use 1/2″ seam allowance. Press open. Finish your seam how you prefer (I actually used the selvages so I didn’t have to finish the seam.)
- Turn up a 1/2″ hem or use a rolled hem at the bottom of the skirt.
- Mark the skirt into quarters using your seam as one point.
- Sew 2 lines of basting stitches around the top edge of your skirt. Pulling on the bobbin threads gather your skirt to fit inside your bodice.
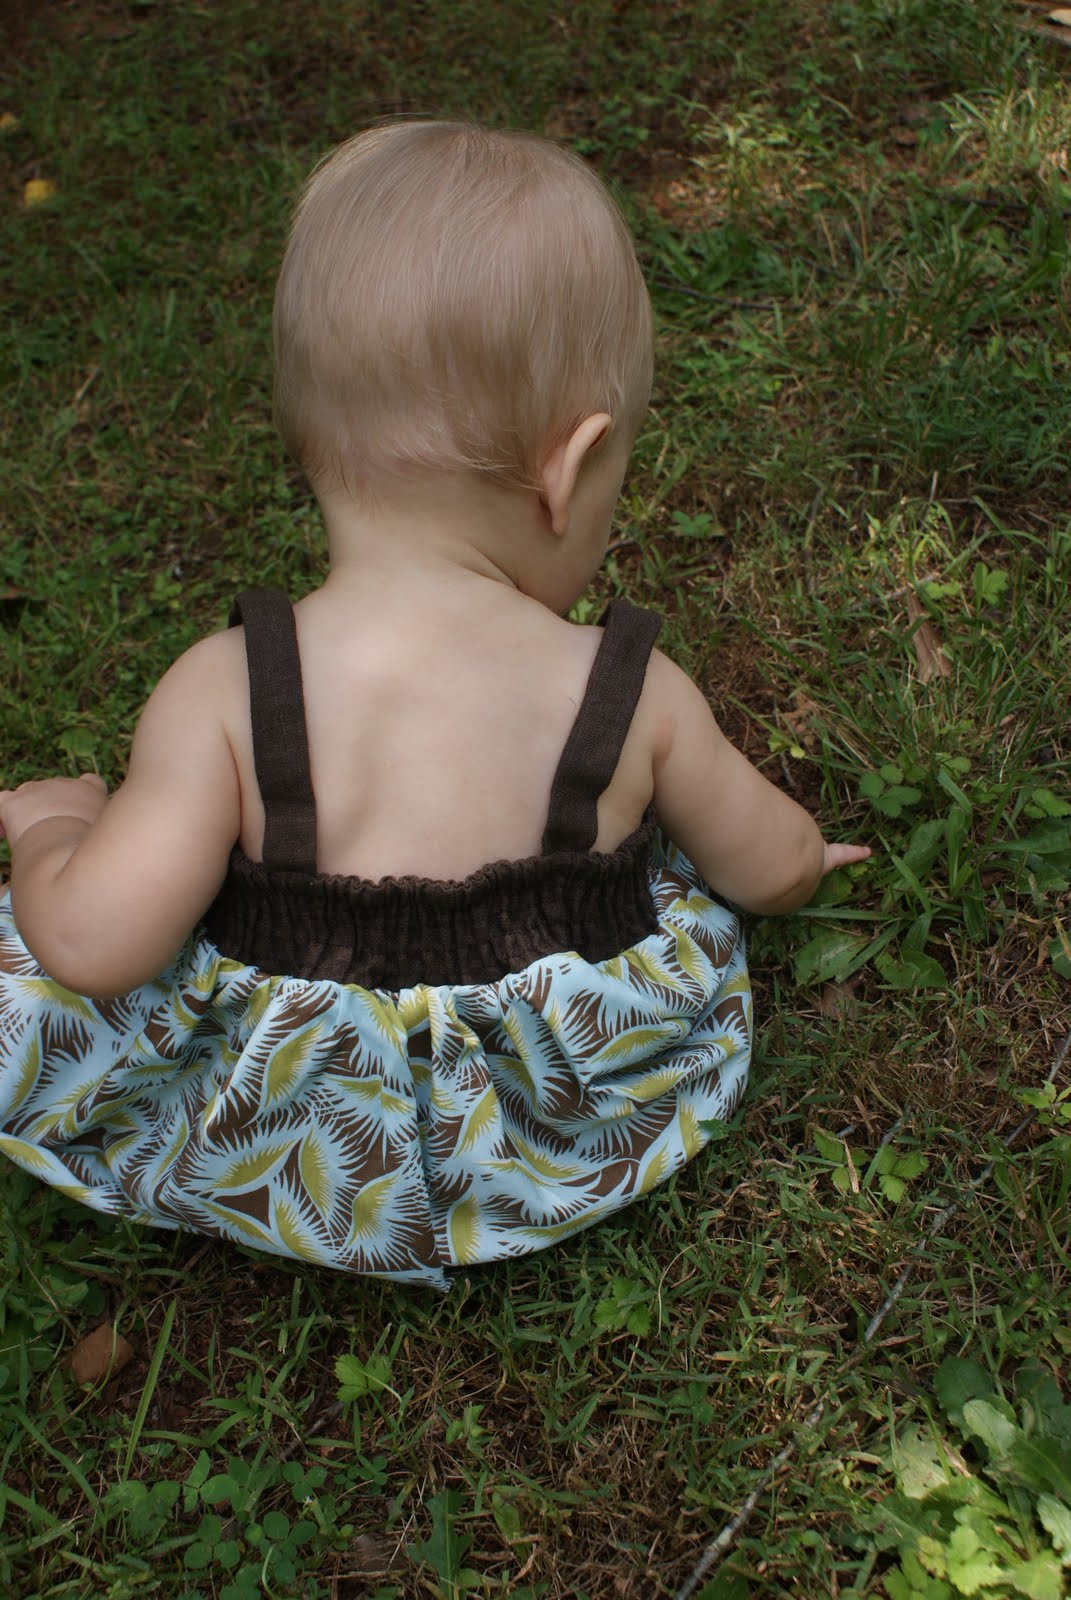
- Matching your quarter points to the seams and bodice center front and back, pin the skirt right side next to right side of bodice. Use a ton of pins. (I put my skirt seam at the side seam since most of the time I’m staring at the back side of my crawlers these days and didn’t want the seam in the back).
- Sew a 1/2″ seam. Sew again 1/4″ from the edge. Remove basting stitches and trim seam. Finish seam with serger, an overlock stitch, or with bias tape (as I did).
- Steam over the back bodice to adjust the shirring and press skirt/bodice if necessary.


I hope you enjoy making these little dresses and would love to see your finished pieces over in the Grow Up Together Dress Group on Flickr.
