14
2014Free Beginner Photography Class: Quick Clean Edits in LR and PSE
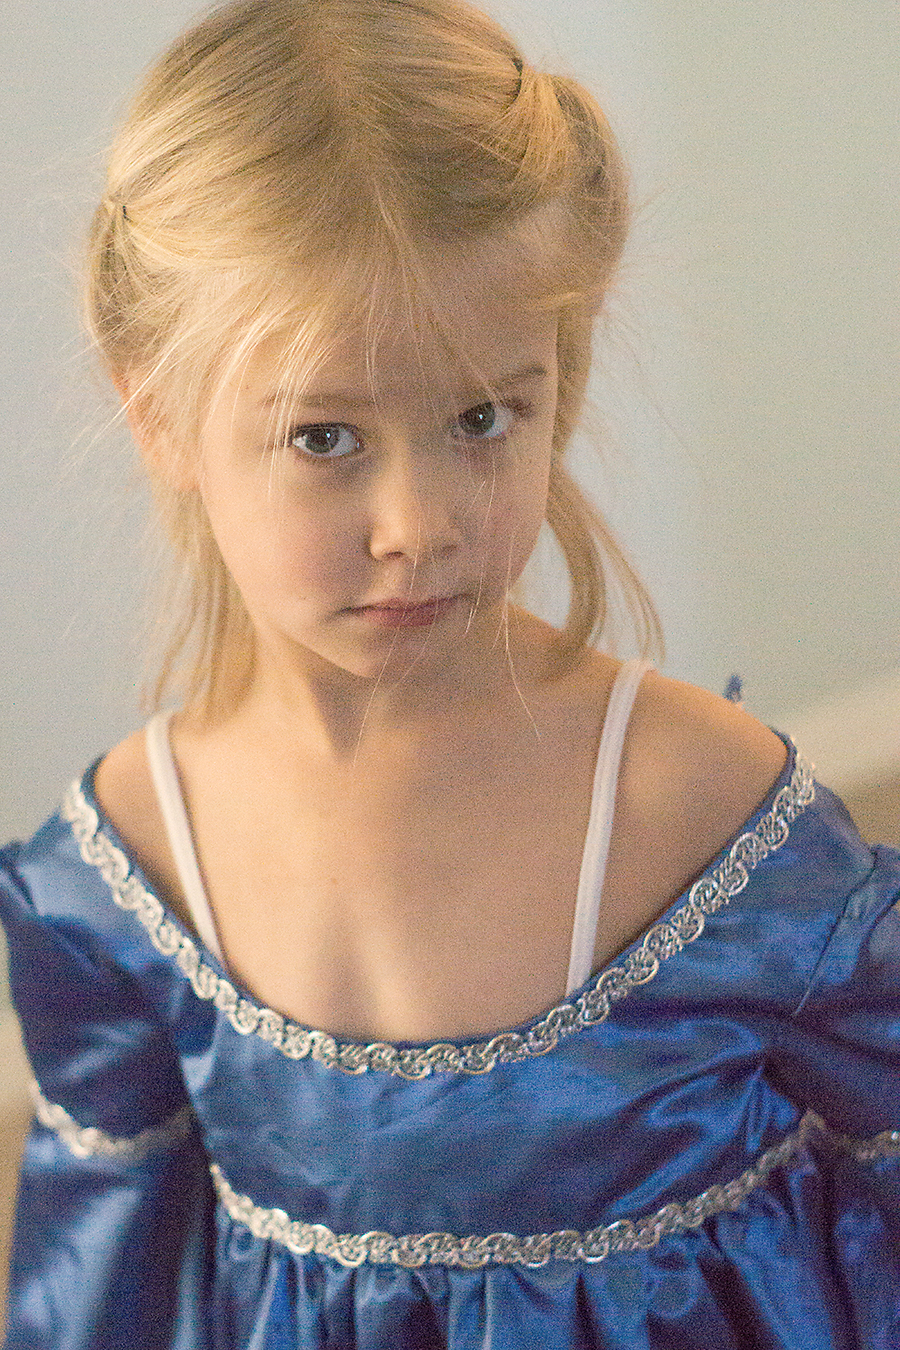
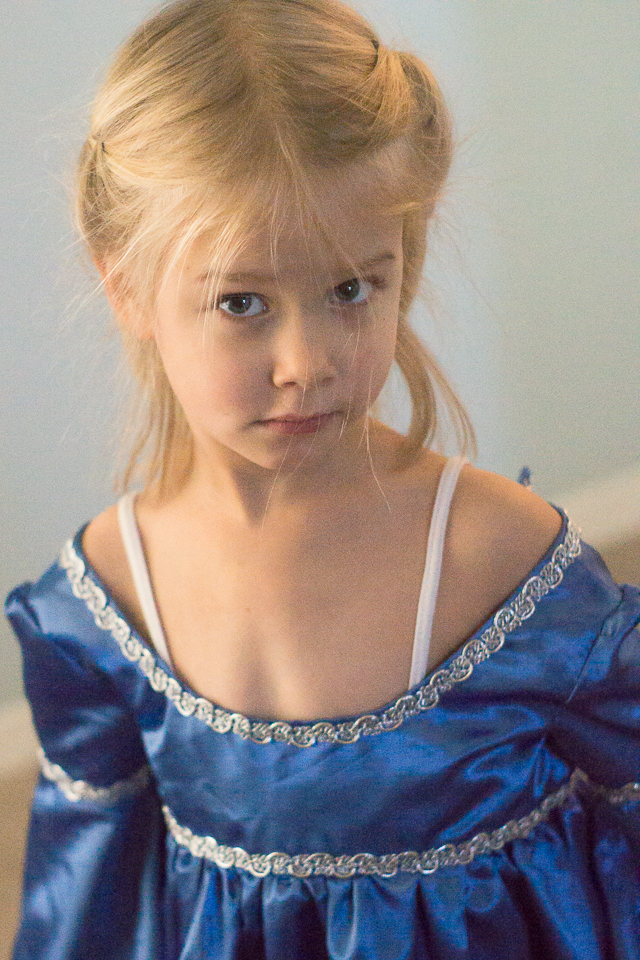
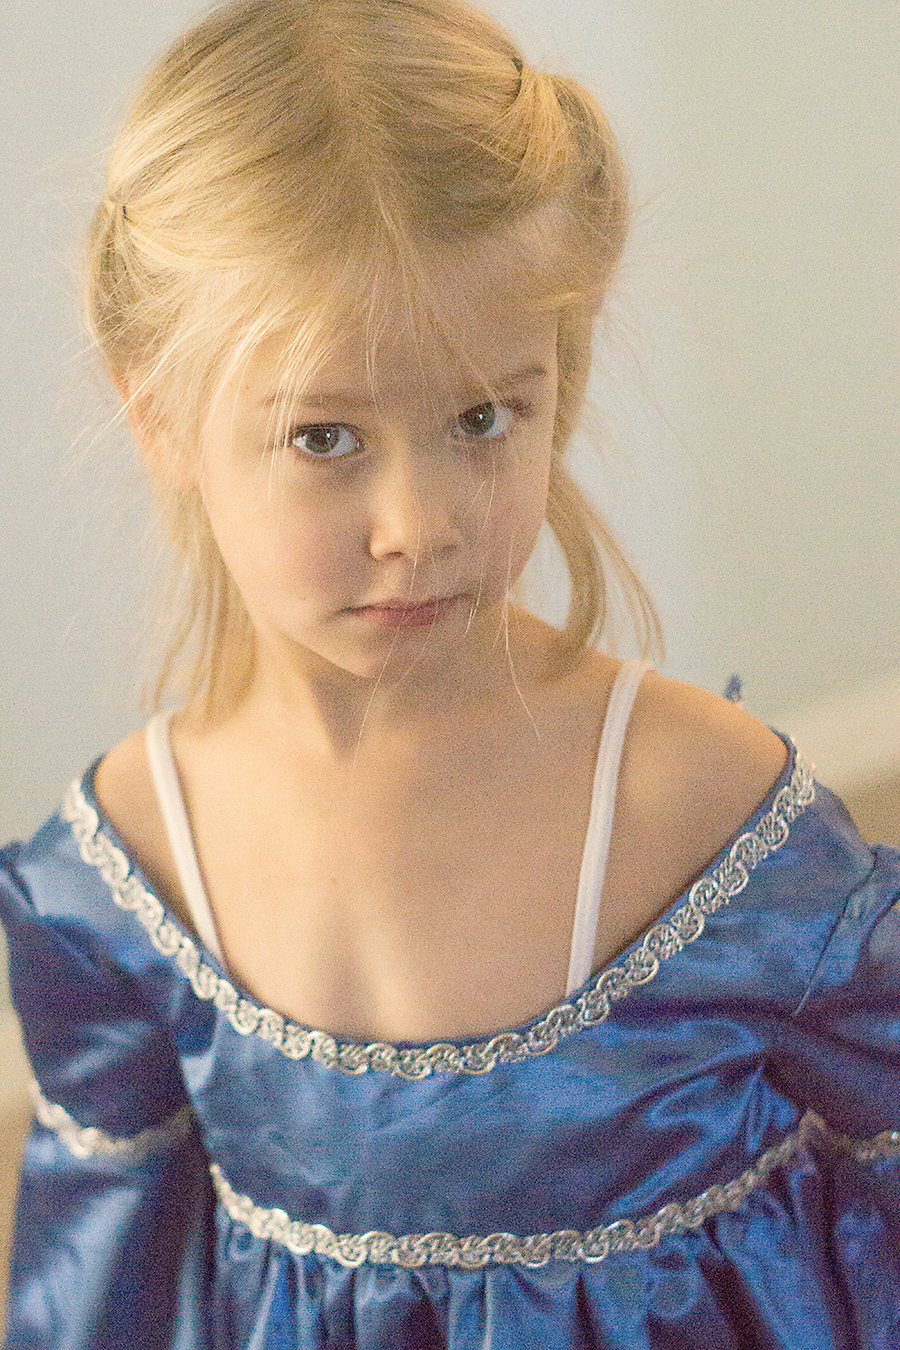
Alright, faithful few in this class, this is it! The last in the series. Woohoo! I’m making this short on words and high on pictures. Remember there are 100 ways to do a clean edit or any editing at all. This is the quick stuff I apply to an edit of my own family. Here’s my SOOC (straight out of the camera) RAW file saved as a JPEG so I can post it here. I try to remember to turn my camera back to JPEG to shoot my kiddos in between sessions, but more often than not I forget :-p

Lightroom Manual Edit
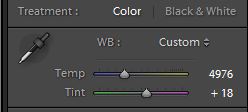
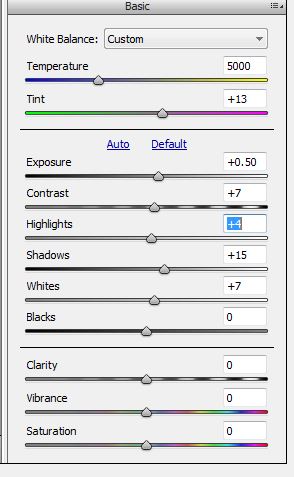
- I did not white balance this image in camera in my blue bedroom with mixed lighting: daylight from the window and florescent from the bulb. (bad Melissa! :-p) So the first think I want to do is use White balance tool on the white in her strap on the left side. You can also use this tool with a grey or black. This is the white balance tool in LR.

- Decide it’s still too cool and move the Kelvin slider to 4976 to warm it up to where I like it.
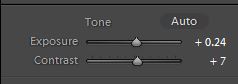
- Bring Exposure and Contrast up to these numbers.
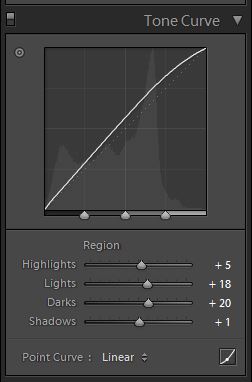
- Play with the Tone curve until I like it
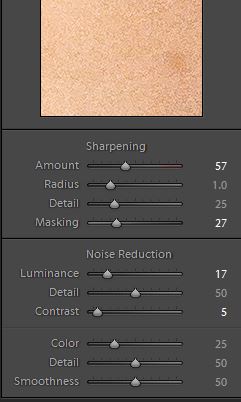
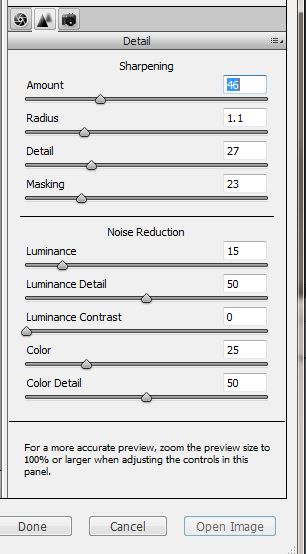
- This image was super noisy (ISO 6400), so I adjusted the details to the following settings to sharpen a bit and reduce noise.
- Cropped
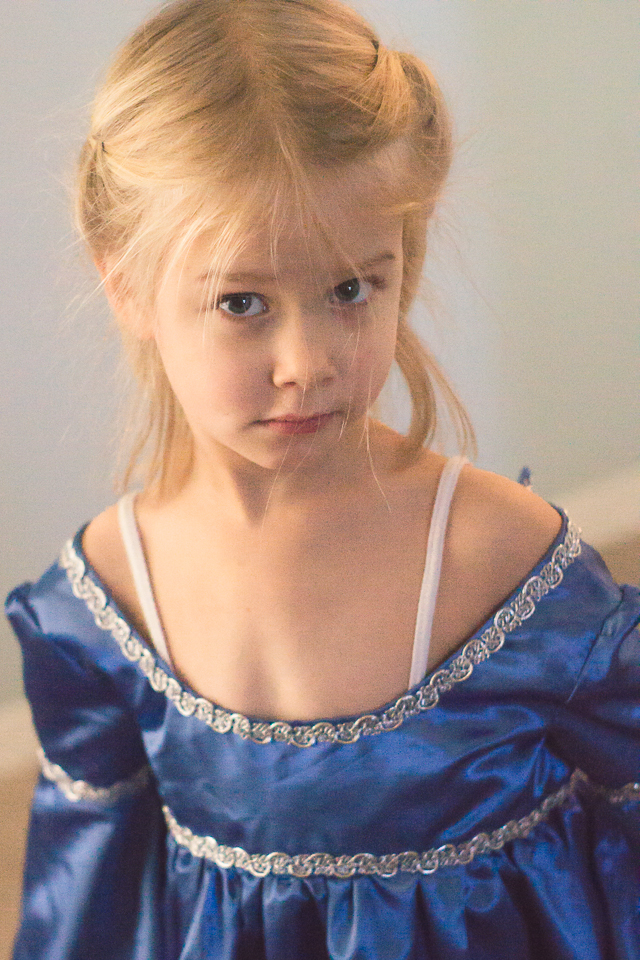
- Here is a the Manual Edit Before/After
- Then for fun I applied Erin Tole’s Nova Preset (my favorite). Here’s that after.
PSE Manual Edit
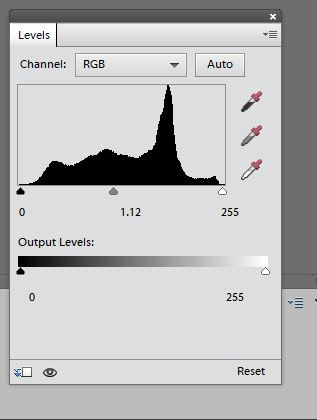
- Opened in the RAW editor and made the following adjustments. This is really pretty similar to what I did in Lightroom 😉 If I had shot JPEG, I would have had less control over the noise and I would have done the white balance adjustment in a Levels Layer. I probably needed to do some more noise reduction here than I did because it’s really noisy here compared to the Lightroom edit.
- Opened a levels Layer and Bumped the Midtones
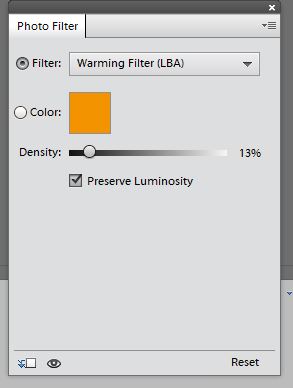
- Still didn’t think this looked warm enough so I added a Photo Filter using the following settings
- Cropped
- Here it is after a Clean Edit.

- Then For Fun I ran Pure’s Golden Sunset Action.

Usually I would do a diptych in PSE to compare images, but I just transferred to a new computer (WOOOOHOOOOOO! I can actually run PSE and LR at the same time!!!!!!! ahem….) and don’t have everything set up to do that yet.
So here is the LR Edit on the Left and the PSE Edit on the Right. There’s really not a whole ton of difference, it just takes a few more steps in PSE 😉